
不连续???? time的更新估计吧
不讲一下原理么?
你试试就知道了 我之前就用过论坛有人分享的流光效果 能明显的感受到性能损耗
嗯…没空。你可以学习下openGL the book of shaders
帖子 是基于哪个版本的
2.3.3
同样不连续了 creator版本 2.4.2 B3
能不能麻烦大神稍微修复一下 感谢
战略马克一下
马可波罗。
编辑器里确实不连续,运行起来就连续了。
关键问题在,怎么干净的把背景色去掉,我自己摸索的,会有一个半透明的背景,
6P,mark!!!
mark马可波罗
不知道怎么给定两点显示闪电,再就是黑背景不知道咋取掉,我之前用贴图也弄了一个
昨天晚上玩了一晚上,很可惜不能满足项目需求。
黑背景的话,我是加了个过滤处理的
vec3 finalColor = vec3( 0.0 );
for( float i=1.; i < count; ++i )
{
  float t = abs(1.0 / ((uv.x + fbm( uv + time/i)) * (i*50.0)));
  finalColor +=  t * vec3( i * 0.075 +0.1, 0.5, 2.0 );
}
// 过滤黑背景
float filter = 0.9;
if (finalColor.r < filter && finalColor.g < filter && finalColor.b < filter) {
  discard;
}
gl_FragColor = vec4( finalColor, 1.0 );
1赞
用贴图绘制闪电
const {ccclass, property} = cc._decorator;
@ccclass
export default class Lightning extends cc.Component {
@property({

    type: cc.Texture2D

})

tex: cc.Texture2D = null;

useGraphics: boolean = false;

gl: cc.Graphics = null;

rt: cc.RenderTexture = null;

data: Uint8Array = null;

displace: number = 100;

curDetail: number = 5;

interval: number = 2;

width: number = 600;

height: number = 600;

pts: cc.Vec2[] = [];

public onLoad (): void {

    if (this.useGraphics) {

        this.gl = this.addComponent(cc.Graphics);

        this.gl.lineWidth = 2;

        this.gl.fillColor = cc.Color.TRANSPARENT;

        this.gl.strokeColor = cc.Color.BLACK;

    } else {

        this.rt = new cc.RenderTexture();

        let sprite = this.addComponent(cc.Sprite);

        sprite.spriteFrame = new cc.SpriteFrame(this.rt);

        this.data = new Uint8Array(this.width*this.height*4);

    }

}

public start (): void {

    this.pts.push(cc.v2(0, 100));

    this.pts.push(cc.v2(300, 300));

    // this.pts.push(cc.v2(500, 100));

    // this.pts.push(cc.v2(400, 400));

    // this.pts.push(cc.v2(200, 500));

}

public update (dt: number): void {

    let ret = true;

    if (this.useGraphics) {

        this.gl.clear();

        this.gl.fillColor = cc.Color.WHITE;

    } else {

        this.data.fill(0);

        ret = this.rt.initWithData(this.data, cc.Texture2D.PixelFormat.RGBA8888, this.width, this.height);

    }

    if (ret) {

        let len = this.pts.length;

        for (let i = 0; (i + 1) < len; i++) {

            let pos1 = this.pts[i];

            let pos2 = this.pts[i + 1];

            this.drawLighting(pos1, pos2, this.displace);

        }

    }

}

private drawLighting(p1: cc.Vec2, p2: cc.Vec2, displace: number): void {

    if (displace < this.curDetail) {

        this.drawLine(p1, p2);

    } else {

        let mid_x = (p1.x + p2.x)/2;

        let mid_y = (p1.y + p2.y)/2;

        mid_x += (Math.random() - 0.5) * displace;

        mid_y += (Math.random() - 0.5) * displace;

        this.drawLighting(p1, cc.v2(mid_x, mid_y), displace/2);

        this.drawLighting(p2, cc.v2(mid_x, mid_y), displace/2);

    }

}

private drawLine(p1: cc.Vec2, p2: cc.Vec2): void {

    let line = p2.sub(p1);

    let lineLength = line.mag();//获得这个向量的长度

    let increment = line.normalize().mul(this.interval); //根据每条线段的长度获得一个增量向量

    let pos = p1.clone();// 临时变量

    do{

        if (this.useGraphics) {

            this.gl.circle(pos.x, pos.y, 5);

            this.gl.fill();

        } else {

            if (pos.x >= 0 && pos.y >= 0) {

                this.rt.drawTextureAt(this.tex, pos.x, pos.y);

            }

        }

        pos.addSelf(increment);

        if (pos.x < 0 || pos.y < 0) {

            cc.log(pos.toString());

        }

        lineLength -= this.interval;

    } while (lineLength > this.interval);

}
}
空了去试试,搞过一个自己画的,调色很丑,也放弃了
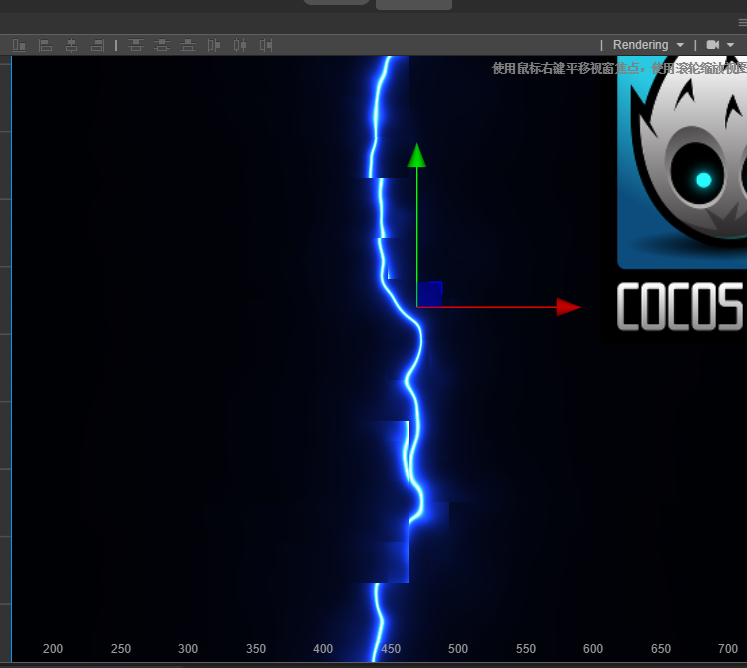
你可以用这个图和上面的代码试下,看着还行![]()
膜拜大佬,就是看不懂原理,也不知道咋改…