
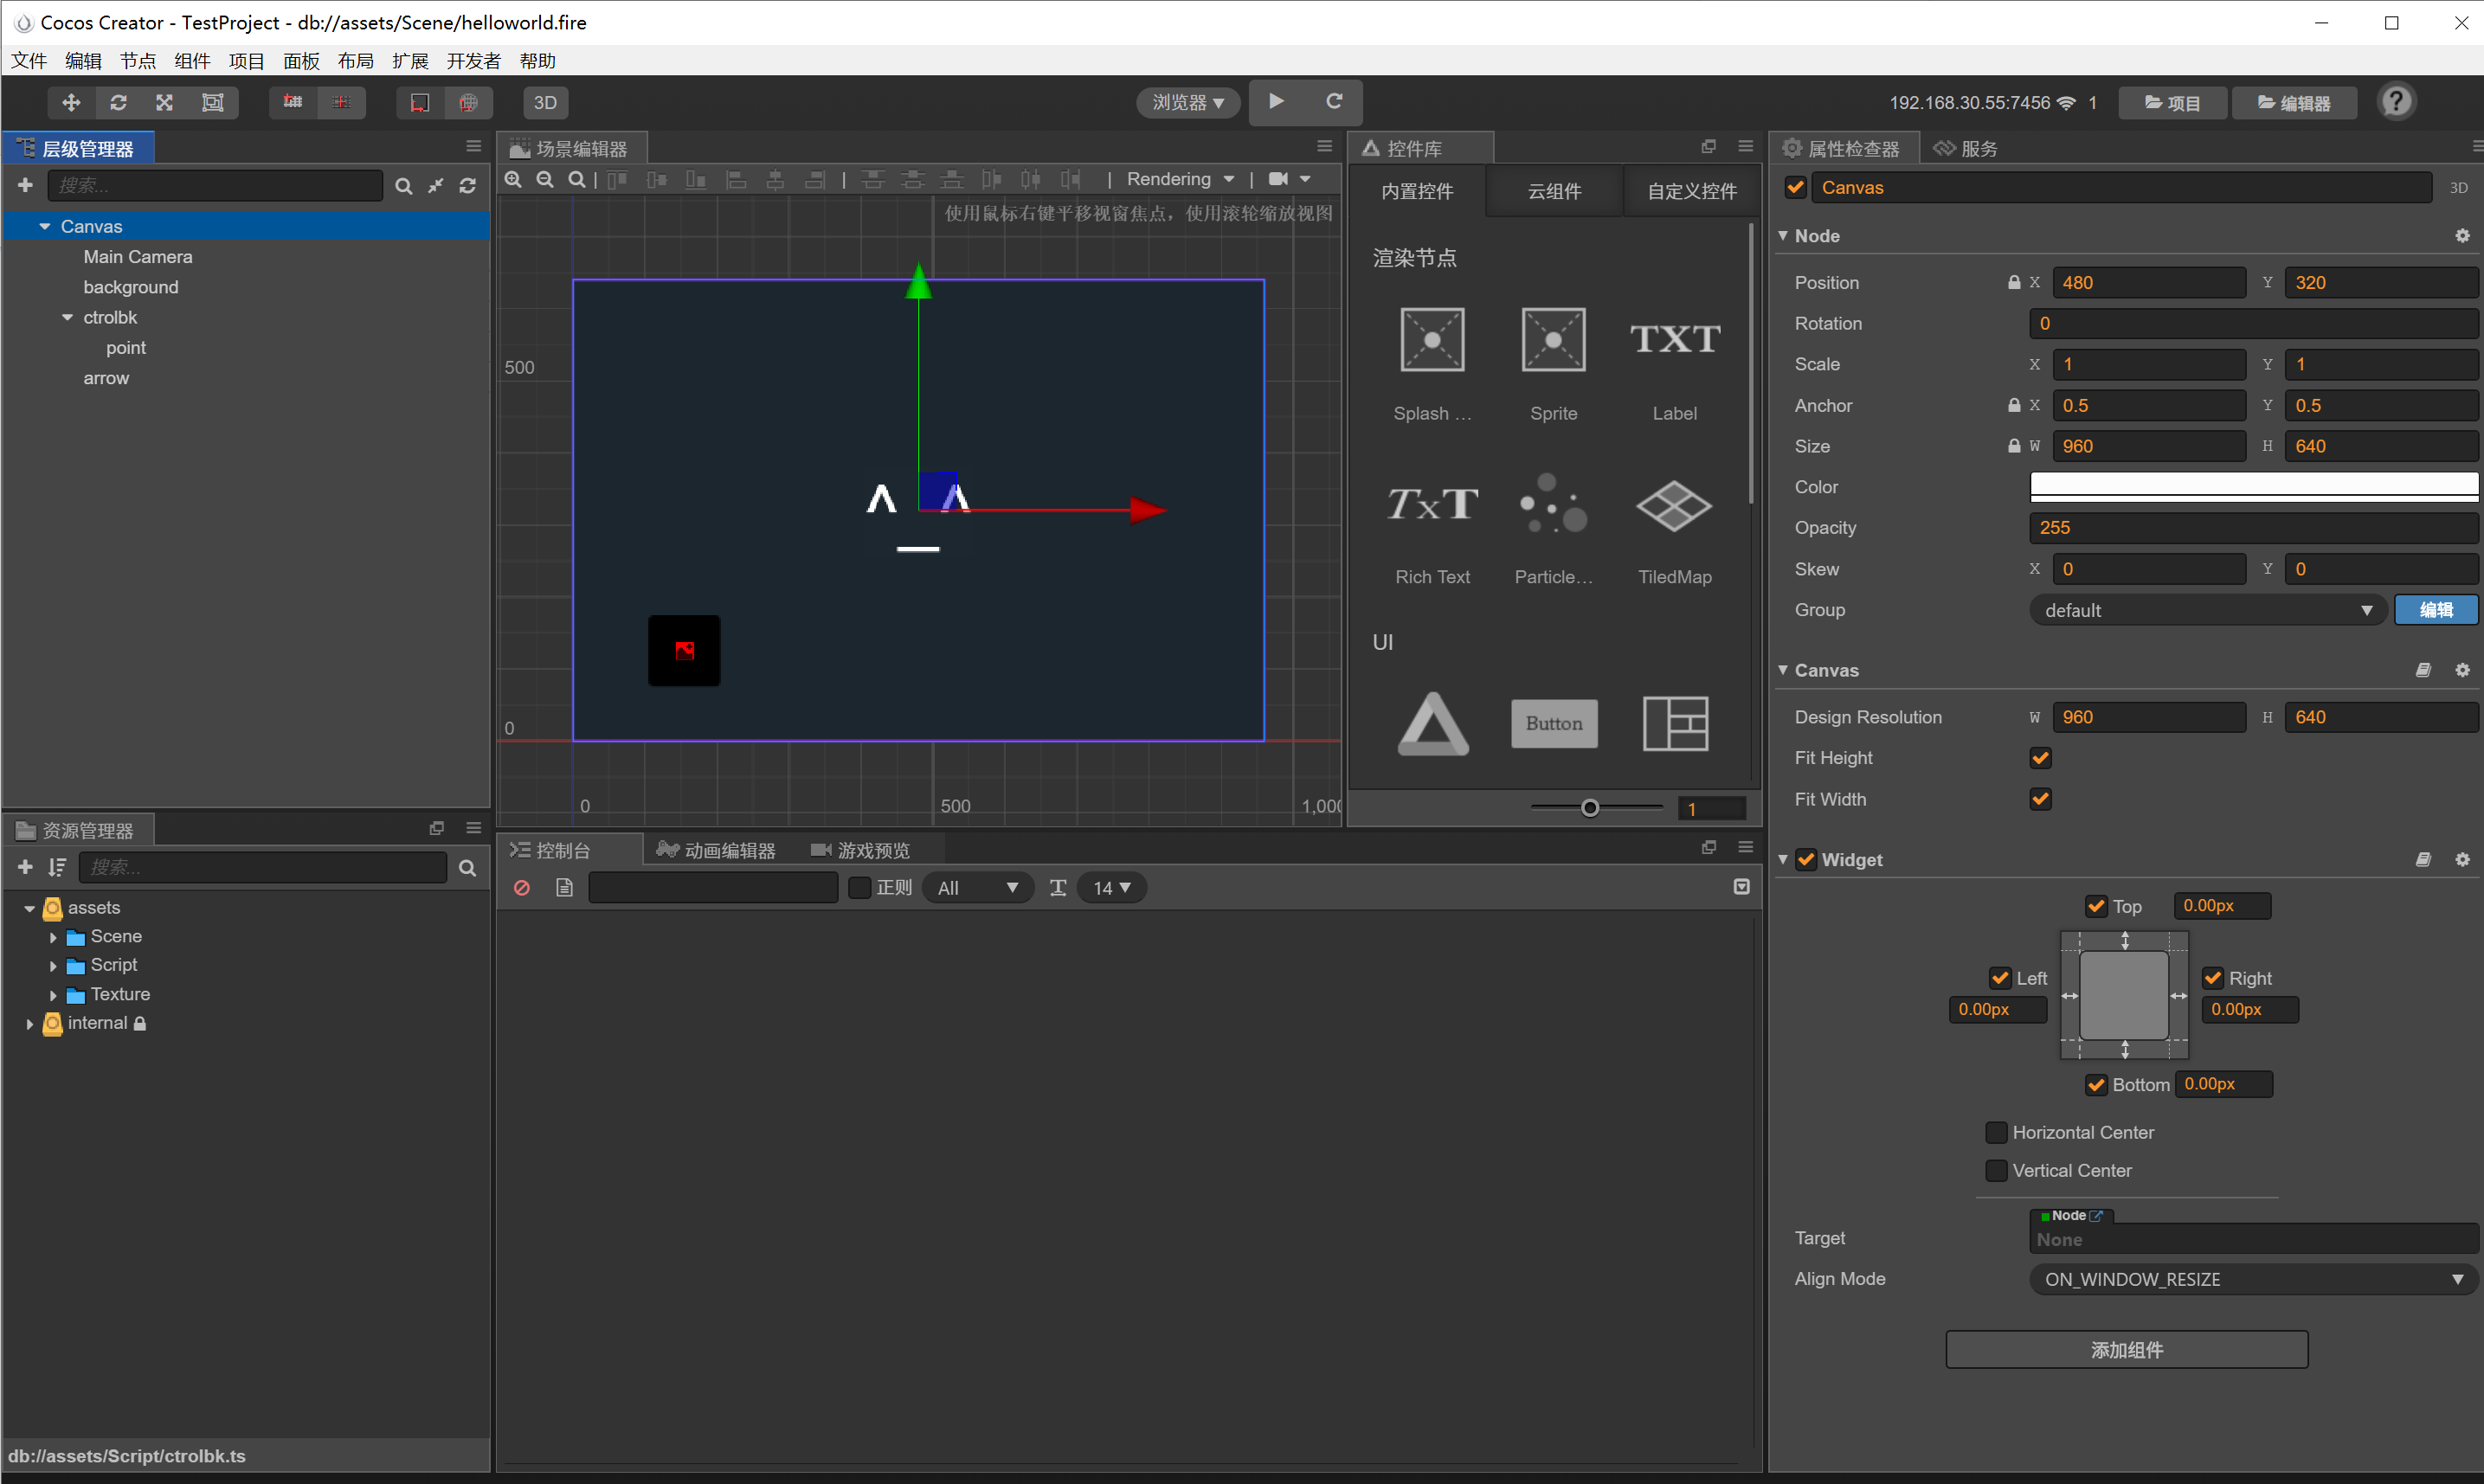
这是完成后的成品

首先这是项目格式
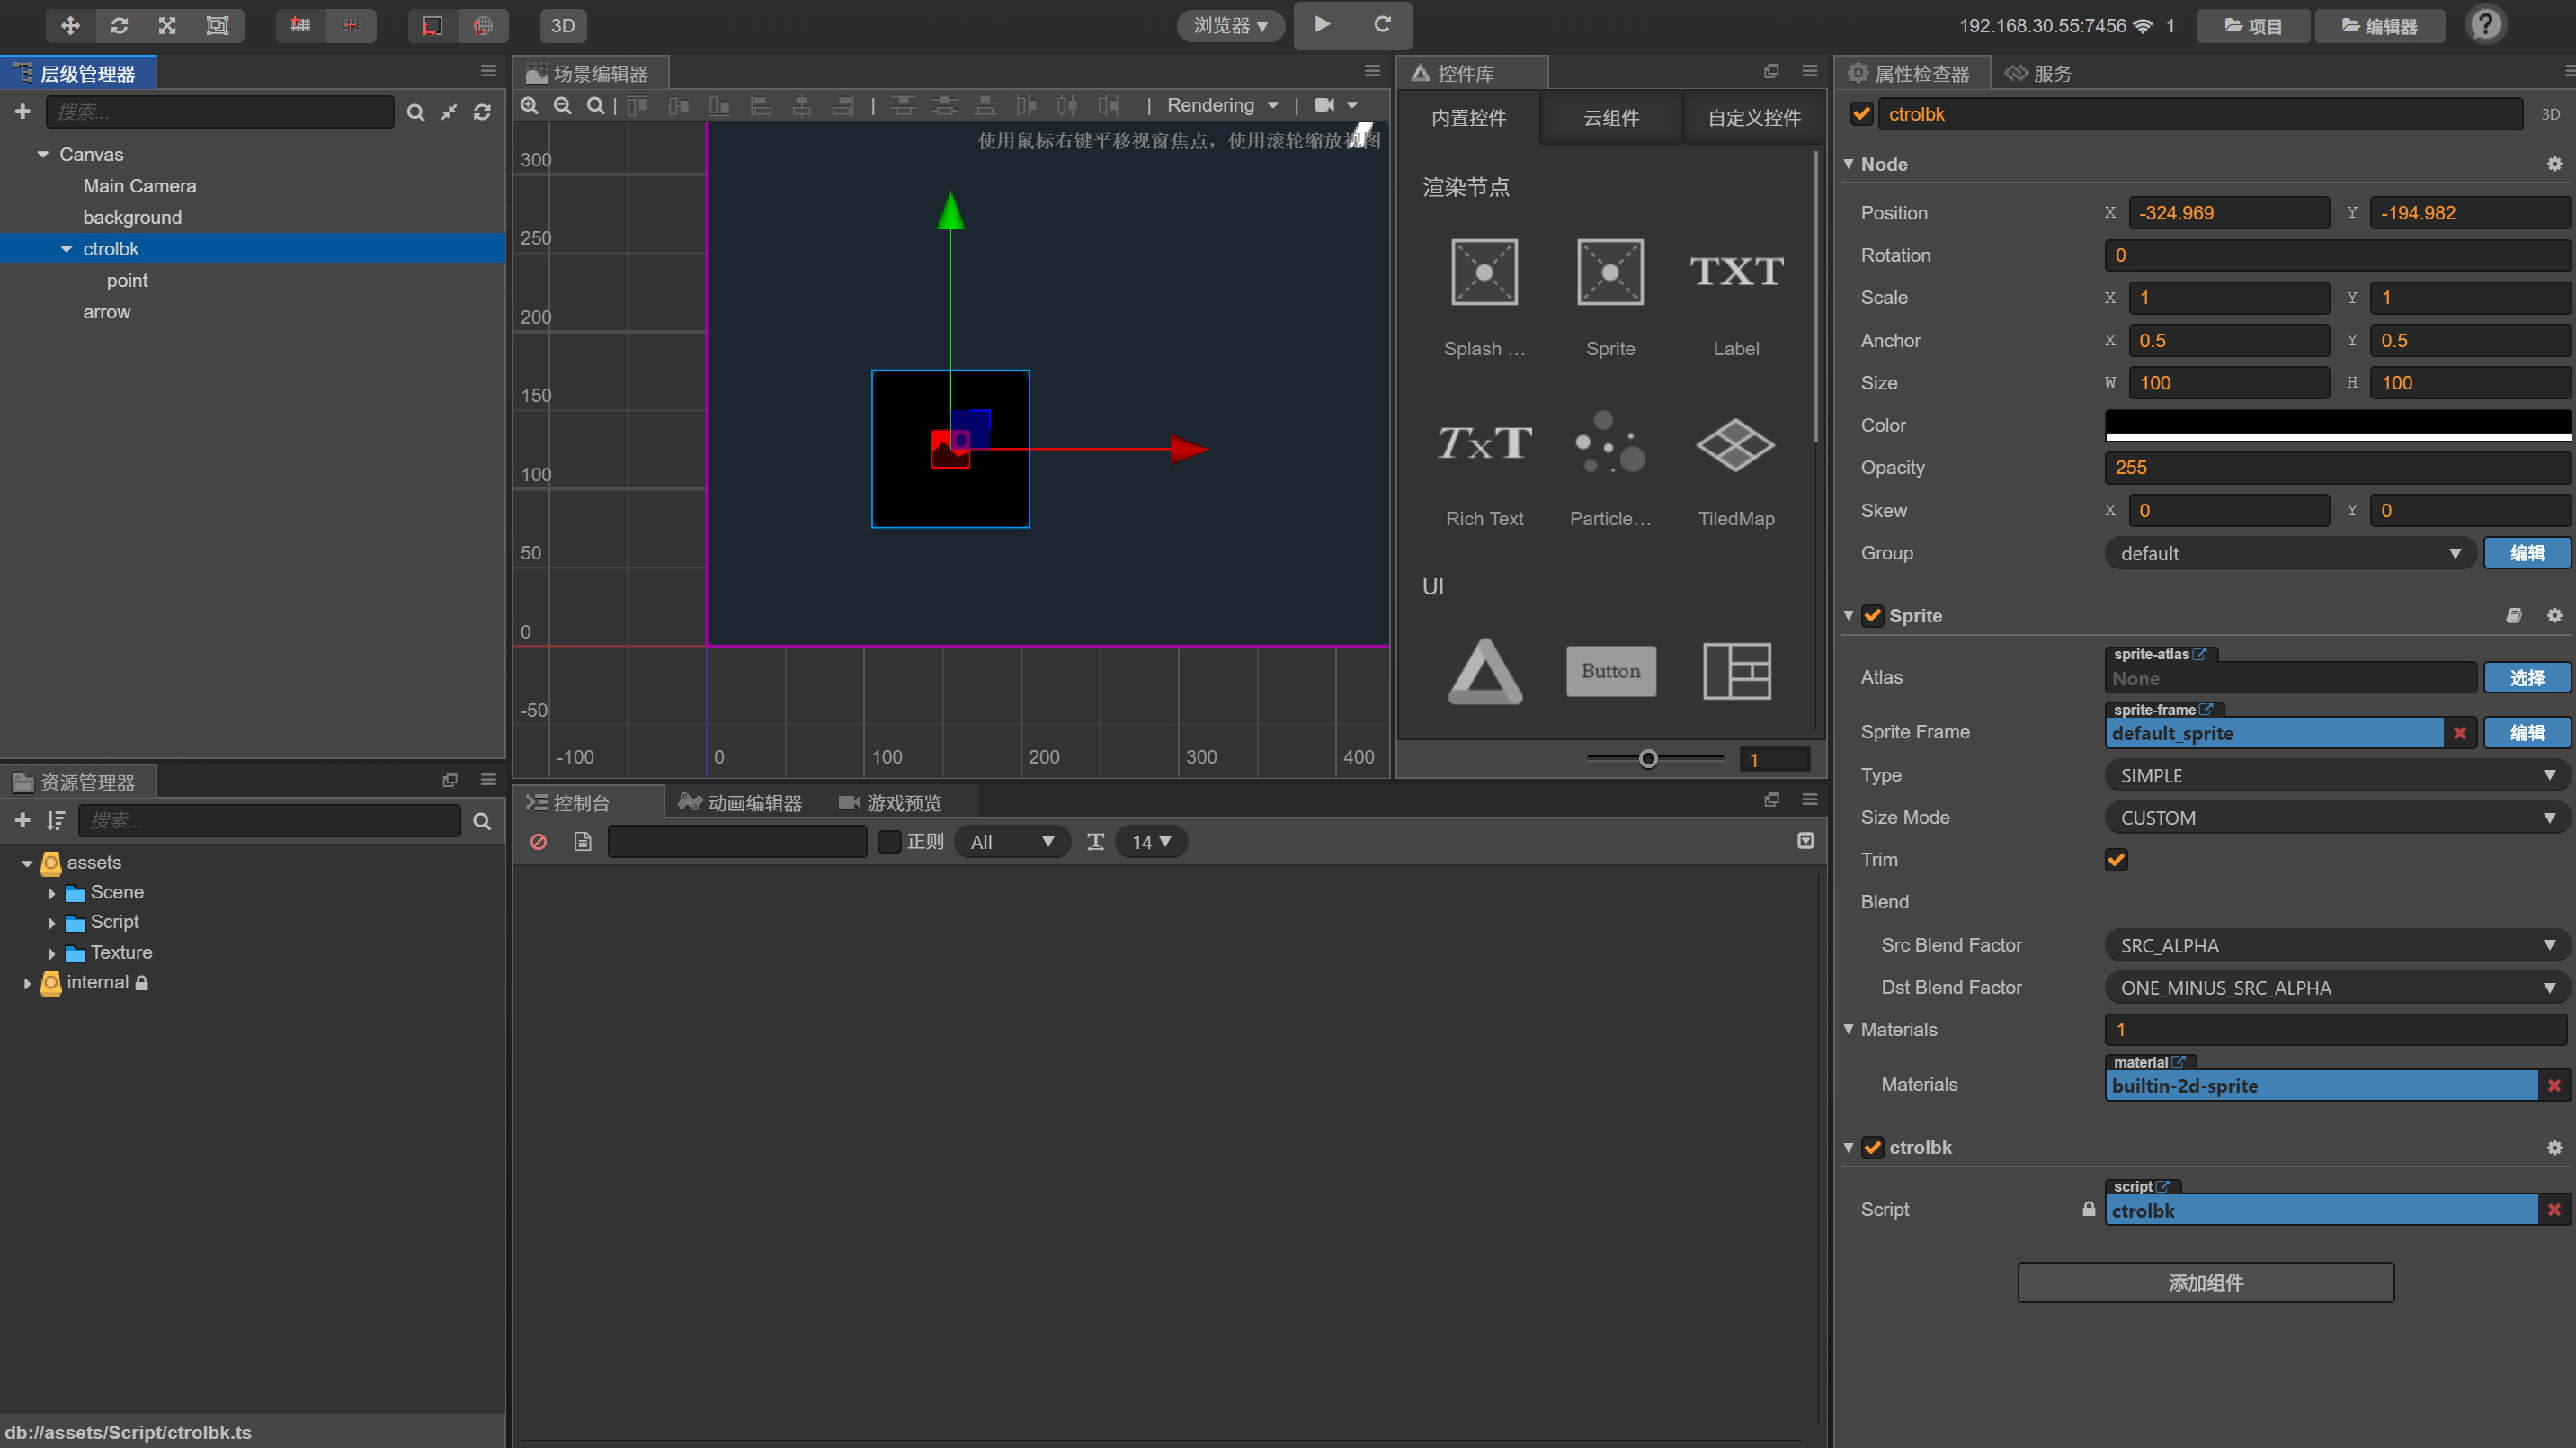
ctrolbk: 图中的摇杆背景图节点
point:摇杆节点
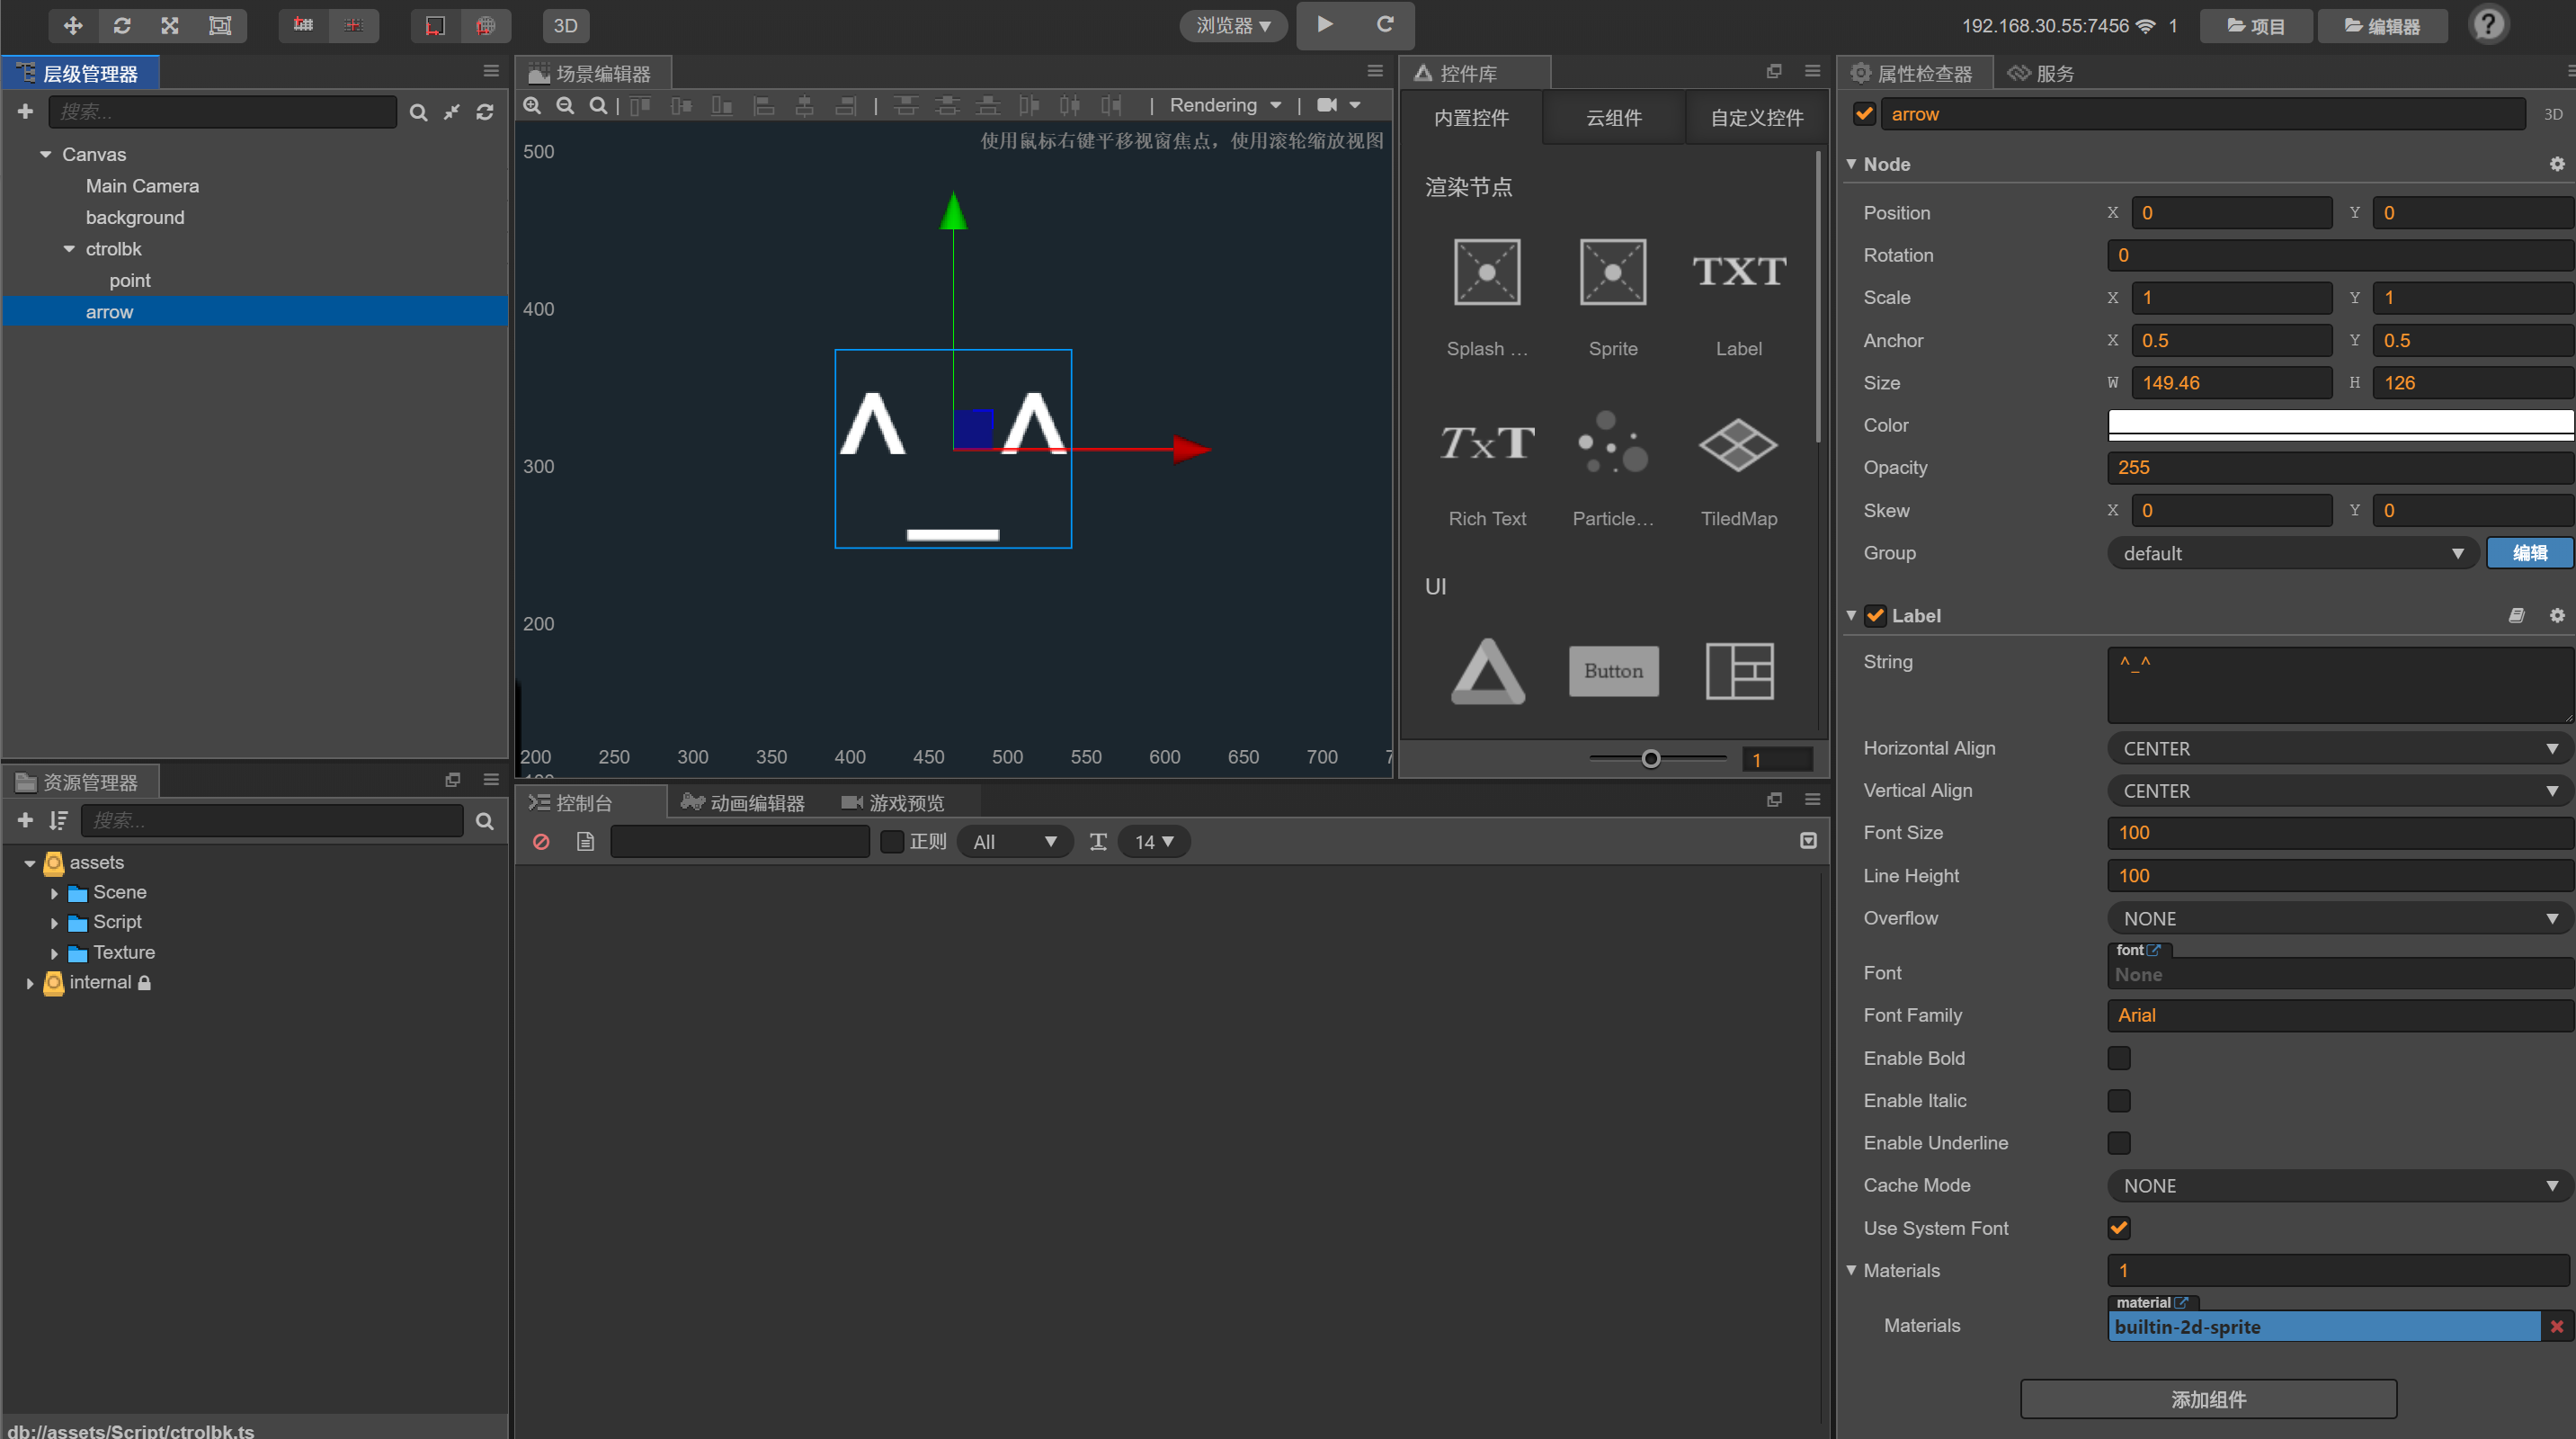
arrow:表情节点(也就是我们需要移动的节点)
首先将摇杆背景摆到合适位置(设置大小,背景颜色改成纯黑就行了)
接着是摇杆节点(背景颜色改纯红)
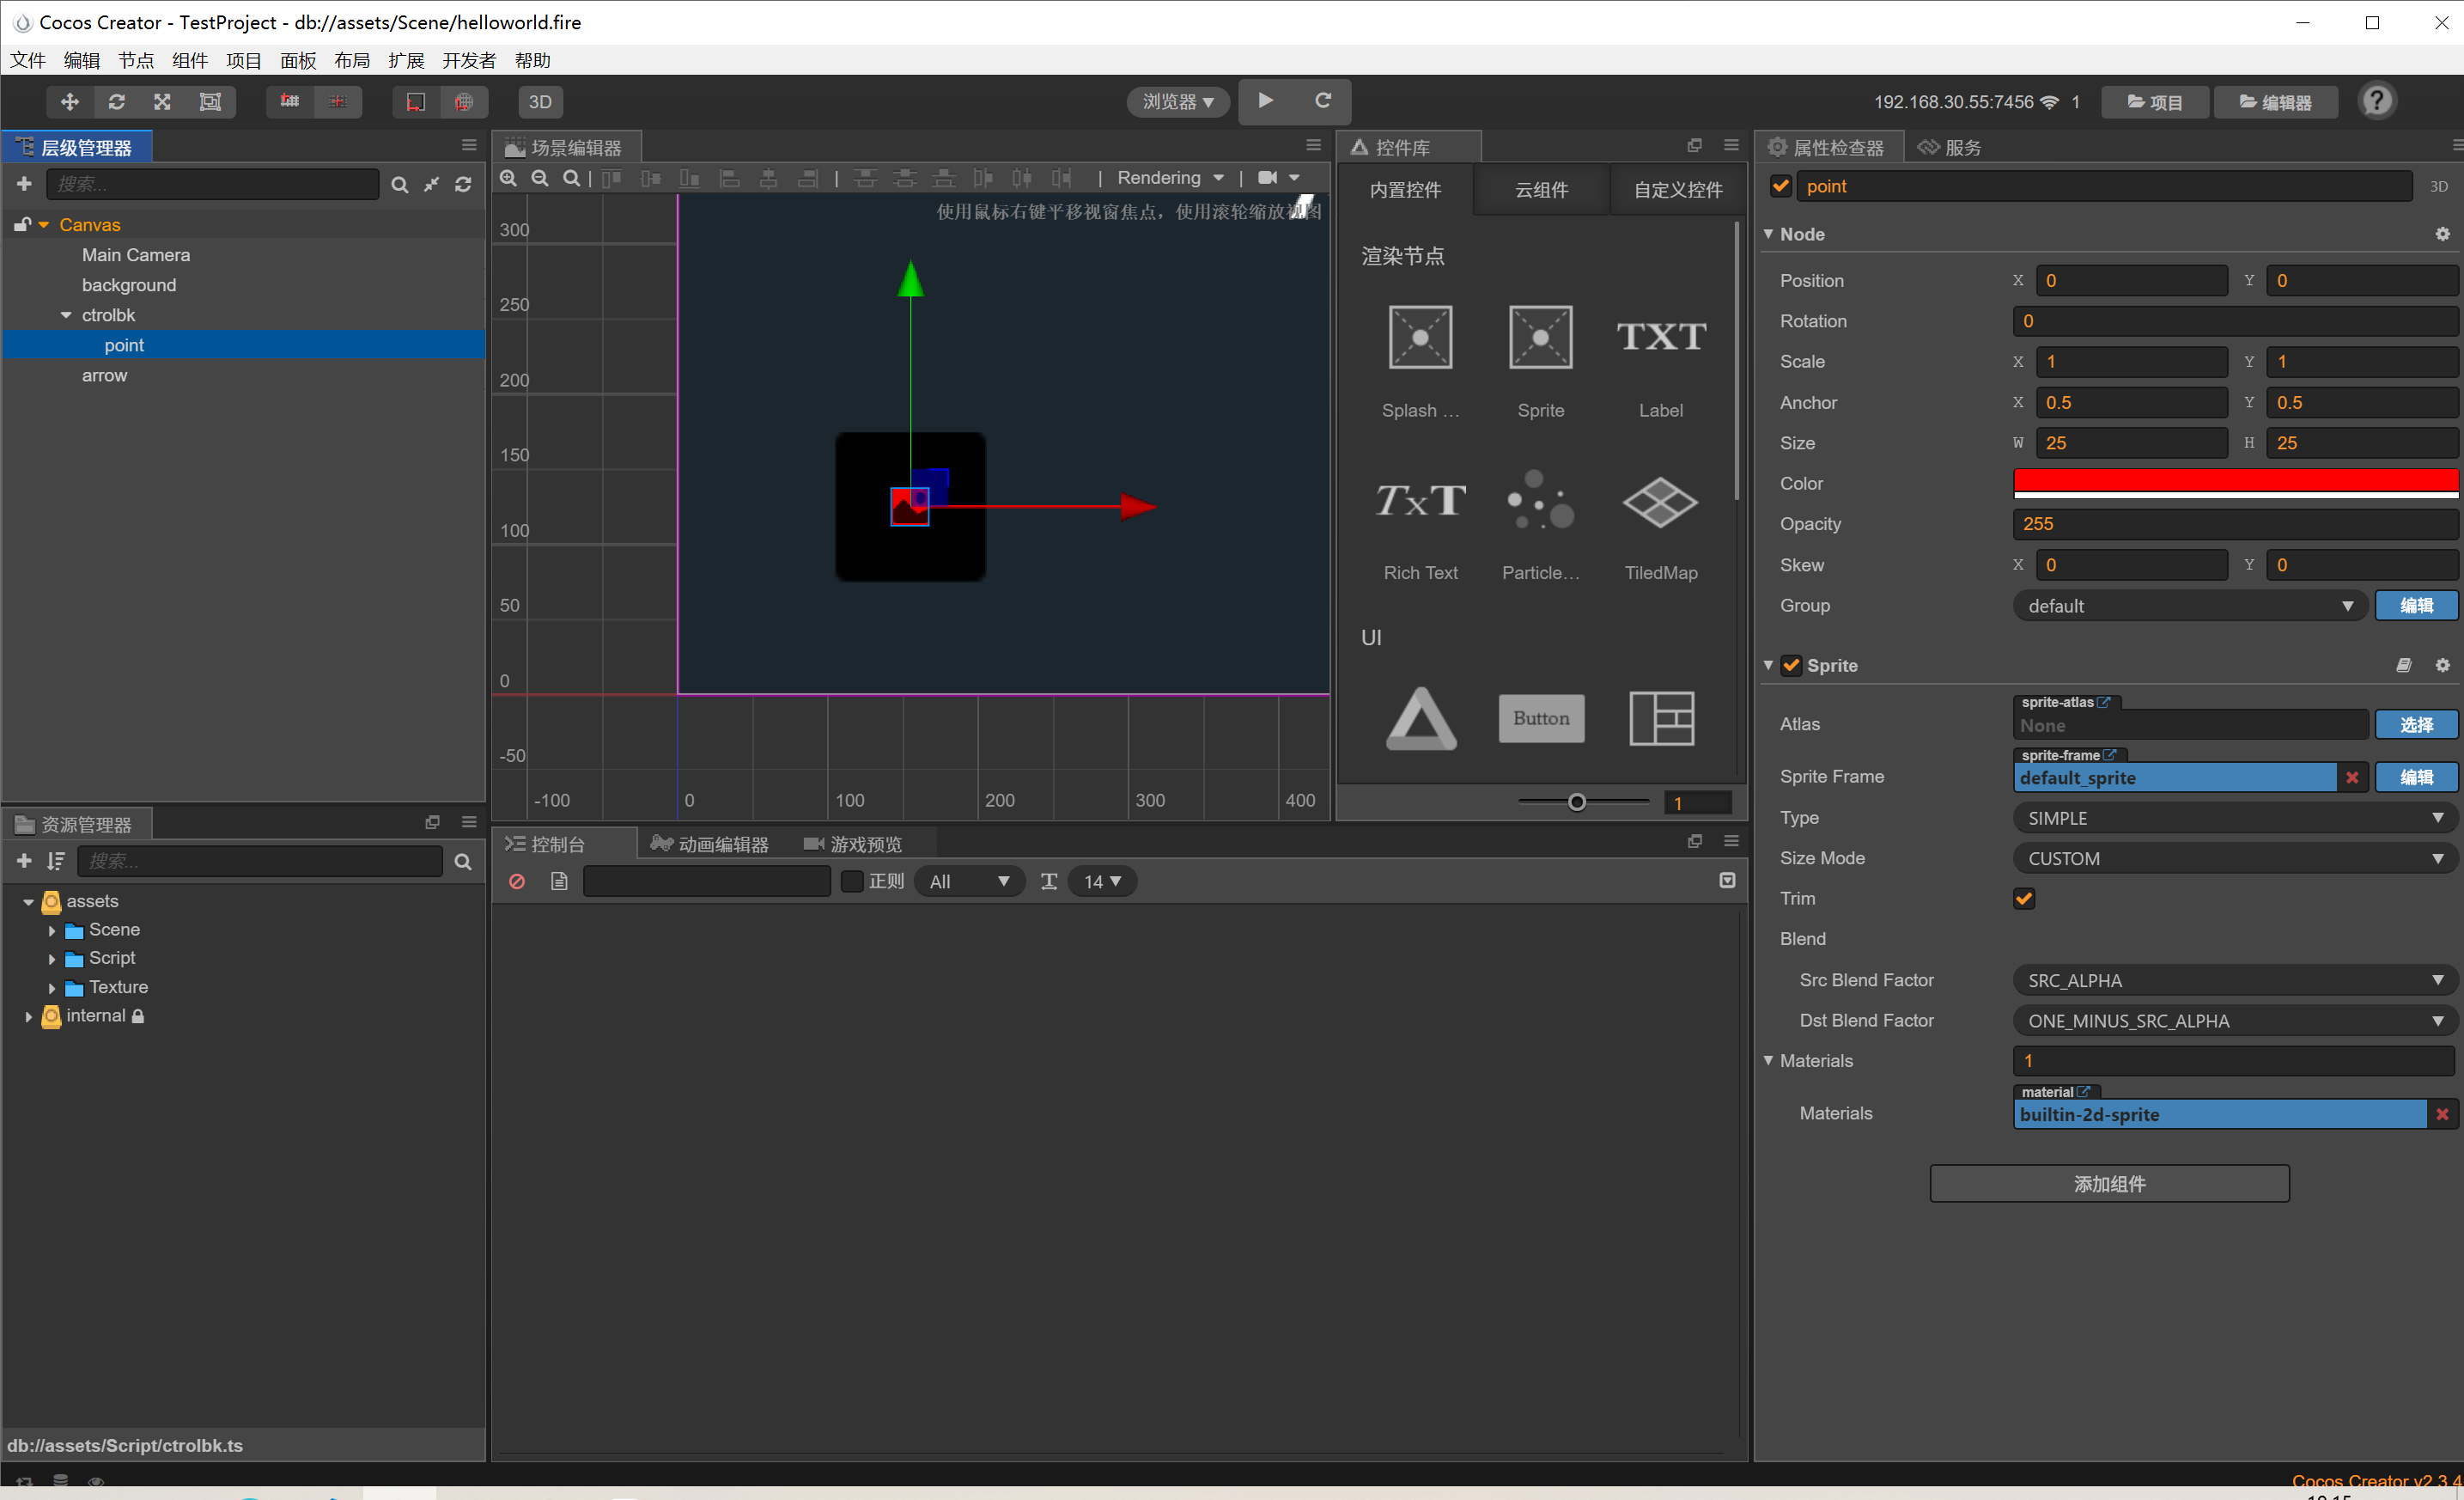
这两个Sprite节点均不用添加图片
最后是我们的表情节点(其实就是label节点)
脚本我们选择挂载到摇杆背景上
const { ccclass, property } = cc._decorator;

@ccclass
export default class NewClass extends cc.Component {

    //每帧位移基量
    gap: cc.Vec2 = cc.v2(0, 0)

    MaxW = 0
    MaxH = 0

    //摇杆所在位置
    pointPos: cc.Vec2 = null;

    //摇杆节点
    point: cc.Node = null;

    //箭头节点
    arrow: cc.Node = null

    maxP: number = 0
    minP :number= 0
    onLoad() {
        //获取箭头和摇杆节点
        this.point = this.node.getChildByName('point');
        this.arrow = this.node.parent.getChildByName('arrow');


        this.node.on(cc.Node.EventType.TOUCH_MOVE, this.movePoint, this)
        this.node.on(cc.Node.EventType.TOUCH_START, this.movePoint, this)

        this.node.on(cc.Node.EventType.TOUCH_END, this.initPoint, this)
        this.node.on(cc.Node.EventType.TOUCH_CANCEL, this.initPoint, this)
        //获取节点位置最大值
        this.MaxH = this.node.parent.height/2 - this.arrow.height/2
        this.MaxW =  this.node.parent.width/2- this.arrow.width/2


    }

    start() {

    }
    //摇杆归位
    initPoint() {
        this.point.setPosition(cc.Vec2.ZERO);
        this.gap = cc.Vec2.ZERO
    }
    //摇杆跟随手滑动
    movePoint(event: cc.Event.EventTouch) {

        let targetPos: cc.Vec2 = event.getLocation()
        let pos = this.node.convertToNodeSpaceAR(targetPos);


        let r = this.node.width / 2;

        pos.x = cc.misc.clampf(pos.x, -r, r);
        pos.y = cc.misc.clampf(pos.y, -r, r);
        this.point.setPosition(pos);

        this.gap = pos
        //计算角度

        this.arrow.angle = -Math.floor(Math.atan2(pos.x, pos.y) * 180 / Math.PI)

    }
    isEdge() {

    }

    update(dt) {

        let nowPos = this.arrow.position.add(cc.v3(this.gap.x / 10, this.gap.y / 10, 0))
        nowPos.x = cc.misc.clampf(nowPos.x, -this.MaxW, this.MaxW)
        nowPos.y = cc.misc.clampf(nowPos.y, -this.MaxH, this.MaxH)
        this.arrow.setPosition(nowPos)
        console.log(this.arrow.y);

    }
}