根据对 来点花样!使用噪声图实现不规则溶解效果 的学习。
在学习Shader的过程中做的小案例,尝试在 Creator v2.4.10 使用噪声图实现物体的消融效果。
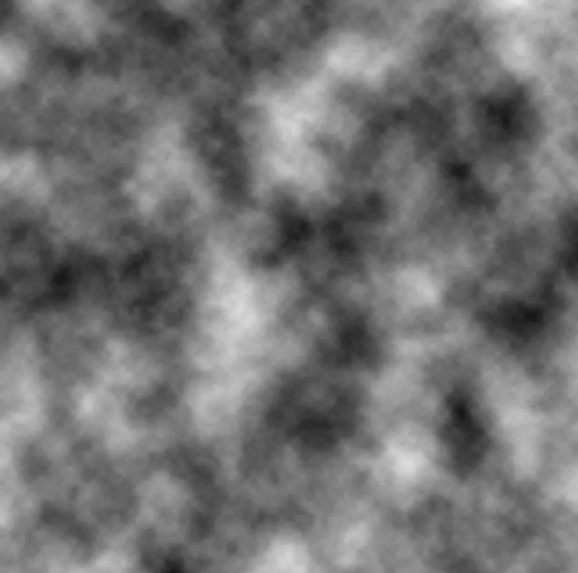
噪声图:
Shader:
CCEffect 中添加 propertie:
    dissolveMap: { value: white, editor: { tooltip: '噪音图'} }
    dissolveThreshold: { value: 0.3, editor: { tooltip: '溶解阈值'} }
    edgeColor: { value: [1, 1, 1, 1] ,editor: { type: color, tooltip: '边缘颜色'}}
    edgeWidth: { value: 0.05, editor: { tooltip: '边缘宽度'} }
修改片段着色器fs:
声明:
  #if USE_TEXTURE
  uniform sampler2D dissolveMap; // 噪音图
  #endif

  uniform Dissolve {  // 消融相关
    vec4 edgeColor;
    float edgeWidth;
    float dissolveThreshold;
  };
入口函数:
 void main () {
    vec4 o = vec4(1, 1, 1, 1);

    #if USE_TEXTURE
      vec4 dissolveValue = texture2D(dissolveMap, v_uv0);

      if (dissolveValue.r < dissolveThreshold) { // 溶解
        discard;
      }

      o = texture2D(texture, v_uv0);
    #endif

    o *= v_color;

    if (dissolveValue.r < dissolveThreshold + edgeWidth && o.a > 0.0) { // 边缘
      float edge = smoothstep(dissolveThreshold - edgeWidth, dissolveThreshold + edgeWidth, dissolveValue.r);
      vec4 finalColor = mix(o, edgeColor, edge);
      o = finalColor;
    }

    gl_FragColor = o.rgba;
  }
添加脚本,控制其逐步消融:
const {ccclass, property} = cc._decorator;

@ccclass
export default class DissolveEffect extends cc.Component {

    @property
    dissolveInterval: number = 0.01;
    @property
    dissolveStep: number = 0.01;

    start () {
        const material = this.getComponent(cc.Sprite).getMaterial(0);

        material.setProperty('dissolveThreshold', 0);

        this.schedule(()=>{

            let dissolveThreshold = material.getProperty('dissolveThreshold', 0);
            dissolveThreshold += this.dissolveStep;
            material.setProperty('dissolveThreshold', dissolveThreshold);

            // console.log(dissolveThreshold);

        }, this.dissolveInterval, 1/this.dissolveStep);
    }
}
最终效果: