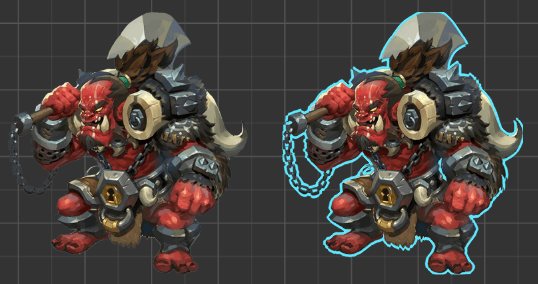
在学习 Shader 的过程中做的小案例,在 Creator v2.4.10 实现2D物体的描边效果。
outline.mtl、outline.effect用于描边效果
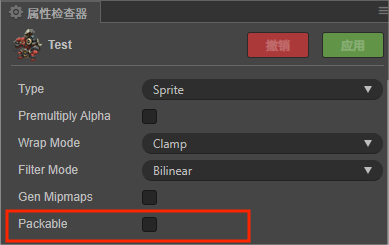
创建 SpriteNode 节点, 给其添加上图和outline.mtl材质。
参考自:
effect
CCEffect 中添加 propertie:
properties:
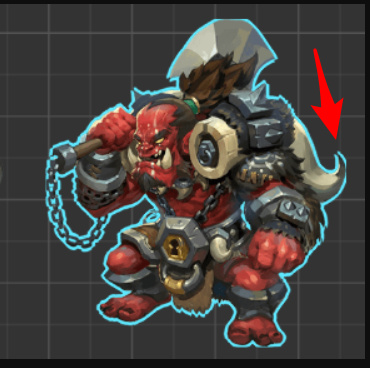
outlineWidth: { value: 0.01, editor: { tooltip: '描边宽度' }}
outlineColor: { value: [1,1,1,1], editor: { type: color ,tooltip: '描边颜色' }}
修改片段着色器fs:
声明:
uniform Outline {
    vec4 outlineColor;
    float outlineWidth;
  };
入口函数:
void main () {
vec4 o = vec4(1, 1, 1, 1);
#if USE_TEXTURE
CCTexture(texture, v_uv0, o);
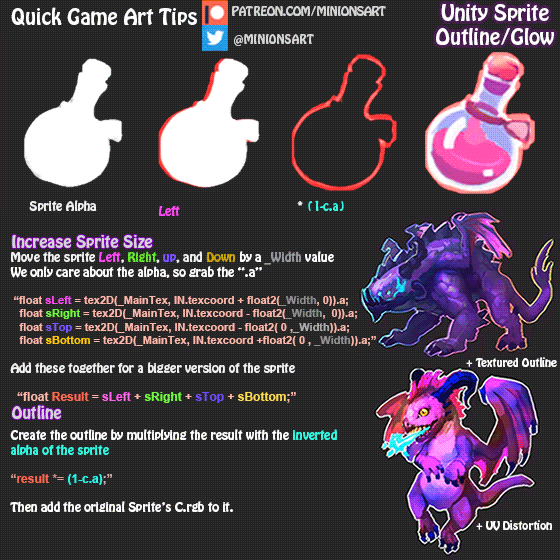
// 计算周围像素的 alpha 值
float alphaLeft = texture2D(texture, v_uv0 + vec2(outlineWidth, 0)).a;
float alphaRight = texture2D(texture, v_uv0 - vec2(outlineWidth, 0)).a;
float alphaTop = texture2D(texture, v_uv0 + vec2(0, outlineWidth)).a;
float alphaBottom = texture2D(texture, v_uv0 - vec2(0, outlineWidth)).a;
// 计算描边的 alpha 值
float outlineAlpha = alphaLeft + alphaRight + alphaTop + alphaBottom;
vec4 finalColor = mix(outlineColor, o.rgba, o.a);
finalColor.a = outlineAlpha;
gl_FragColor = finalColor;
#endif
}
vec4 finalColor = mix(outlineColor, o.rgba, o.a);
-
o.a == 1,说明纹理图该位置有颜色,采用纹理图的原色 -
o.a == 0,说明纹理图该位置没有颜色,采用描边颜色 -
o.a介于中间,根据纹理图的Alpha值使用混合颜色
float outlineAlpha = alphaLeft + alphaRight + alphaTop + alphaBottom; 记录周围像素的alpha。如果 outlineAlpha == 0,说明附近都是透明的;
finalColor.a = outlineAlpha;,令周围都是透明的地方的保持透明。
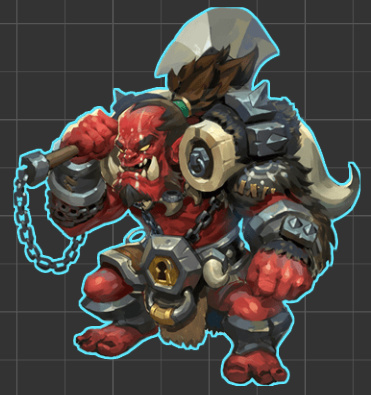
最终效果: