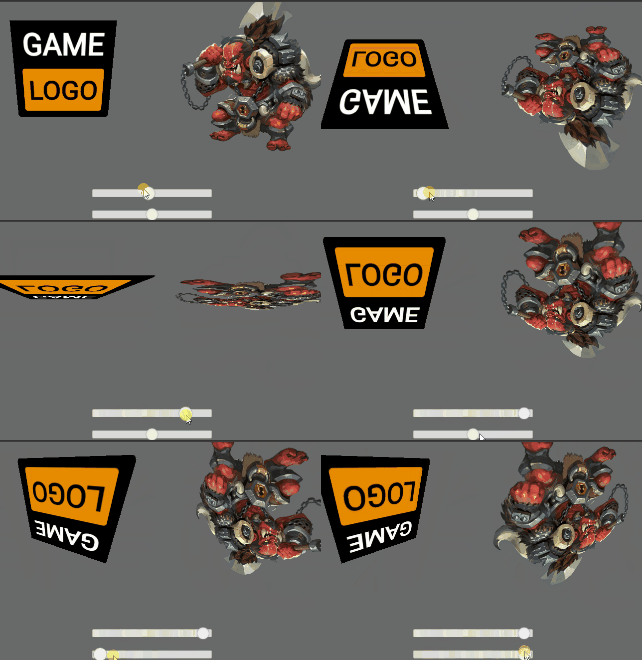
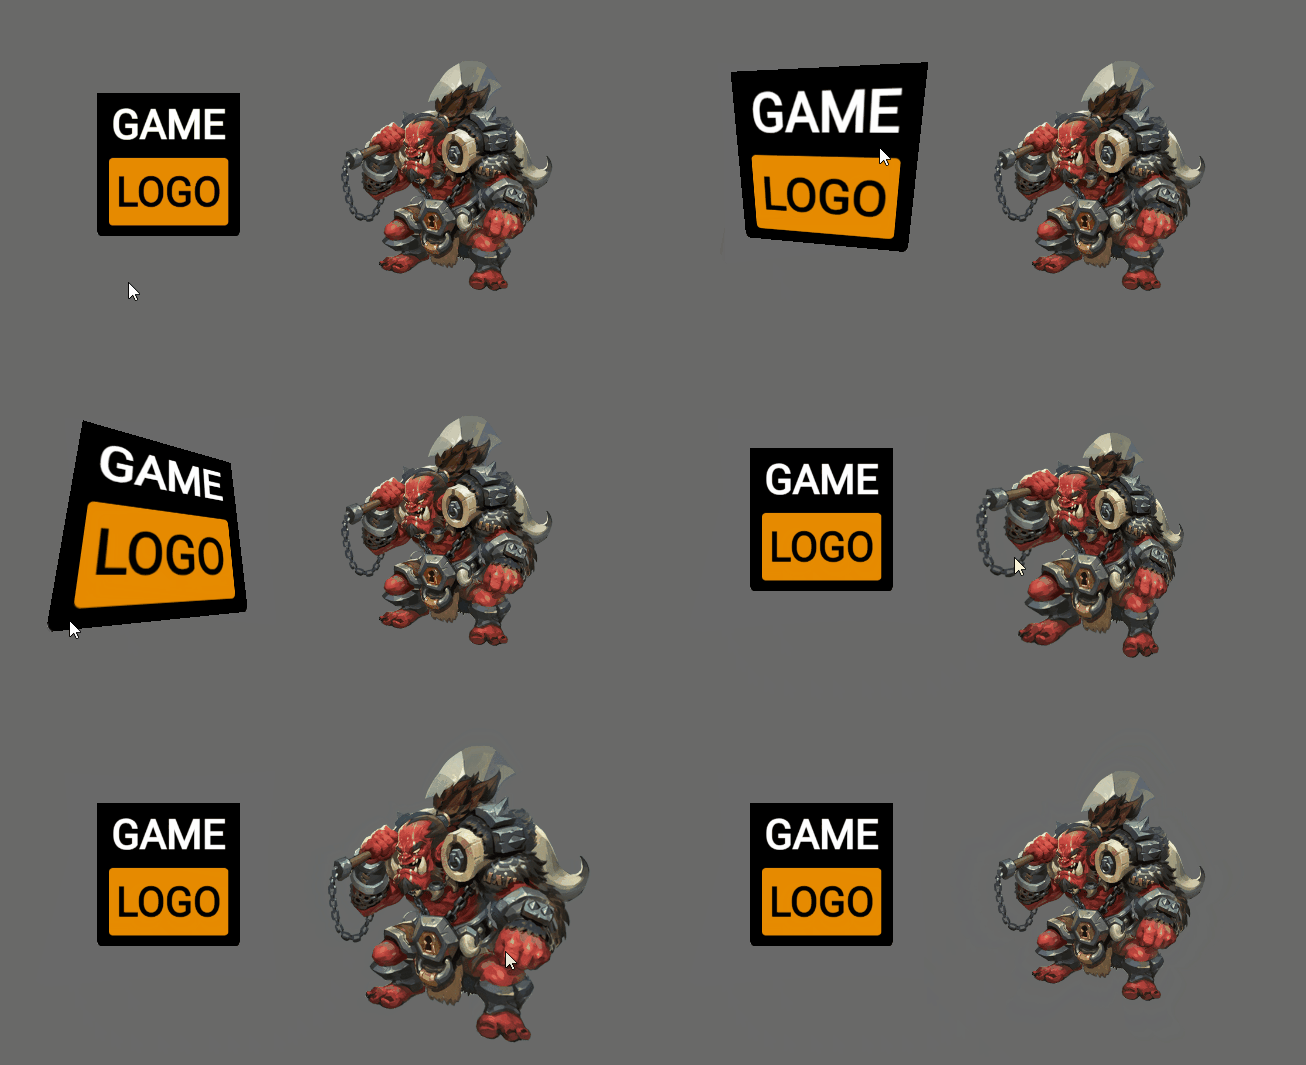
在学习 Shader 的过程中做的小案例,在 Creator v2.4.10 实现2D物体的翻转效果 或者 叫伪3D效果?
fake3DMaterial.mtl 、 fake3DEffect.effect 用于实现效果
创建 SpriteNode 节点, 给其添加上图和 fake3DMaterial.mtl 材质。
原理
使用旋转矩阵,在片段着色器中对uv进行翻转变化,在顶点着色器对修改后的图像尺寸进行调整。
Effect
参数 properties
properties:
        FOV: { value: 90, editor: { tooltip: '视场角', range: [1, 179]}}
        y_rot: { value: 0, editor: { tooltip: 'y轴角度', range: [-360, 360] }}
        x_rot: { value: 0, editor: { tooltip: 'x轴角度', range: [-360, 360] }}
        textureSize: { value: [0, 0], editor: { tooltip: '纹理尺寸' }}
        cull_back: { value: 0, editor: { tooltip: '不显示背面, 0:关闭',range: [0, 1, 1] }}
顶点着色器 vs
增加导入,主要是为了 PI ,自己定义一个也行。
#include <common>
声明参数,varying 声明 vs、fs 共用的变量。
#if USE_FAKE3D
  varying vec3 camera_pos;
  varying vec2 offset;

  uniform Fake3D_vs {
    vec2 textureSize;
    float FOV;
    float y_rot;
    float x_rot;
  };
 #endif
入口函数 vs
void main () {
    vec4 pos = vec4(a_position, 1);

    #if USE_FAKE3D
      vec2 UV = a_uv0;
      float sin_b = sin(y_rot / 180. * PI);
      float cos_b = cos(y_rot / 180. * PI);
      float sin_c = sin(x_rot / 180. * PI);
      float cos_c = cos(x_rot / 180. * PI);

      // Y轴旋转矩阵
      mat3 inv_rot_mat_y = mat3(
        vec3(cos_b, 0.0  , sin_b),
        vec3(0.0  , 1.0  , 0.0),
        vec3(-sin_b, 0.0  , cos_b)
      );

      // X轴旋转矩阵
      mat3 inv_rot_mat_x = mat3(
        vec3(1.0  , 0.0  , 0.0),
        vec3(0.0  , cos_c  , -sin_c),
        vec3(0.0  , sin_c  , cos_c)
      );

      // 合成的旋转矩阵
      mat3 inv_rot_mat = inv_rot_mat_y * inv_rot_mat_x;

      // 计算投影角度的正切
      float t = tan(FOV / 360. * PI);
      float v = (0.5 / t) + 0.5;

      // 计算模拟的摄像机位置 和 偏移量
      camera_pos = inv_rot_mat * vec3(UV - 0.5, 0.5 / t);
      camera_pos.xy *= inv_rot_mat[2].z * v;
      offset = inv_rot_mat[2].xy * v;

      pos.x += (UV.x - 0.5) * textureSize.x;
      pos.y -= (UV.y - 0.5) * textureSize.y;

    #endif

    #if CC_USE_MODEL
    pos = cc_matViewProj * cc_matWorld * pos;
    #else
    pos = cc_matViewProj * pos;
    #endif

    #if USE_TEXTURE
    v_uv0 = a_uv0;
    #endif

    v_color = a_color;

    gl_Position = pos;
  }
注意事项
用于缩放图形尺寸的代码:
 pos.x += (UV.x - 0.5) * textureSize.x;
 pos.y -= (UV.y - 0.5) * textureSize.y;
要在 视图投影矩阵 cc_matViewProj 作乘积 之前完成,否则在 物体移动 和 编辑器移动窗口时 图形会偏移。既,在下述代码之前。
#if CC_USE_MODEL
pos = cc_matViewProj * cc_matWorld * pos;
 #else
pos = cc_matViewProj * pos;
#endif
片段着色器 fs
声明参数
#if USE_FAKE3D
  varying vec3 camera_pos;
  varying vec2 offset;

  uniform Fake3D_fs {
    int cull_back;
  };
 #endif
入口函数 fs
void main () {
    vec4 o = vec4(1, 1, 1, 1);

    #if USE_TEXTURE
      CCTexture(texture, v_uv0, o);
    #endif

    #if USE_FAKE3D

      // 启用背面剔除 && 摄像机位置在背面 => 丢弃片段
      if (cull_back != 0 && camera_pos.z <= 0.) discard;

      // 将摄像机位置转换为屏幕上的 UV 坐标, 减去偏移量
      vec2 uv = (camera_pos.xy / camera_pos.z).xy - offset;

      // 纹理采样, 加上 0.5 以调整偏移
      o = texture(texture, uv + 0.5);

      // 控制纹理的透明度,使超出范围的部分透明
      o.a *= step(max(abs(uv.x), abs(uv.y)), 0.5);

    #endif

    o *= v_color;

    gl_FragColor = o;
  }
效果

脚本
在 SpriteNode 节点上挂载脚本,实现随鼠标移动翻转。
const {ccclass, property} = cc._decorator;

@ccclass
export default class Fake3D extends cc.Component {
    @property minAngle: number = -15;
    @property maxAngle: number = 15;

    private material: cc.Material = null;

    start(): void {
        // 材质 初始化
        const sprite = this.node.getComponent(cc.Sprite);
        this.material = sprite.getMaterial(0);
        this.material.setProperty('textureSize', cc.v2(this.node.width , this.node.height));

        // 监听鼠标移动
        this.node.on(cc.Node.EventType.MOUSE_ENTER, this.onMouseEnter, this);
        this.node.on(cc.Node.EventType.MOUSE_MOVE, this.onMouseMove, this);
        this.node.on(cc.Node.EventType.MOUSE_LEAVE, this.onMouseLeave, this);
    }

    onMouseEnter() {
        cc.tween(this.node)
        .to(0.1, {scale: 1.5})
        .start();
    }

    onMouseMove(event: cc.Event.EventMouse) {
        const worldPos = event.getLocation();
        const nodePos = this.node.convertToNodeSpaceAR(worldPos);

        const angleX = this.remap(nodePos.x, -this.node.width/2, this.node.width/2, this.minAngle, this.maxAngle);
        const angleY = this.remap(nodePos.y, -this.node.height/2, this.node.height/2, this.minAngle, this.maxAngle);

        this.material.setProperty('y_rot', angleX);
        this.material.setProperty('x_rot', angleY);
    }

    onMouseLeave() {
        cc.tween(this.node)
        .to(0.2, {scale: 1}, )
        .start();

        // 缓慢改变材质属性 方法一

        cc.tween(this.material['effect']._passes[0]._properties.x_rot)
        .to(0.2, { value: 0 })
        .start();

        cc.tween(this.material['effect']._passes[0]._properties.y_rot)
        .to(0.2, { value: 0 })
        .start();

        // 缓慢改变材质属性 方法二

        // const startAngleX = this.material.getProperty('x_rot', 0);
        // const startAngleY = this.material.getProperty('y_rot', 0);

        // cc.tween({ angleVec2: cc.v2(startAngleX, startAngleY) })
        // .to(0.2, { angleVec2: cc.Vec2.ZERO}, {
        //     onUpdate: (target) => {
        //         this.material.setProperty('x_rot', target.angleVec2.x);
        //         this.material.setProperty('y_rot', target.angleVec2.y);
        //     }
        // })
        // .start();
    }

    /**
     * 映射
     * @param num 当前值
     * @param sourceMin 原最小值
     * @param sourceMax 原最大值
     * @param targetMin 目标最小值
     * @param targetMax 目标最大值
     * @returns 映射后的目标值
     */
    remap(num ,sourceMin, sourceMax, targetMin = 0, targetMax = 1): number {
        const sourceRange = sourceMax - sourceMin;
        const targetRange = targetMax - targetMin;
        return num / sourceRange * targetRange;
    }
}
最后效果

补充一个 3.8.3 的版本
学习参考:

 收藏了 感谢分享

