// Copyright © 2017-2018 Xiamen Yaji Software Co., Ltd.
CCEffect %{
techniques:
- passes:
- vert: vs
frag: fs
blendState:
targets:- blend: true
rasterizerState:
cullMode: none
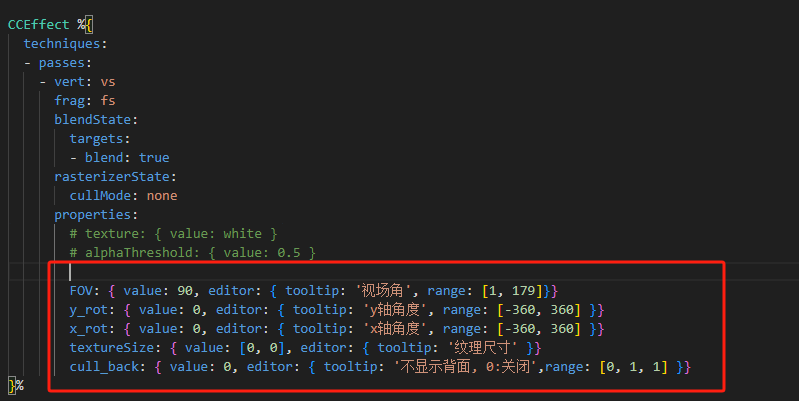
properties:
texture: { value: white }
alphaThreshold: { value: 0.5 }
}%
- blend: true
- vert: vs
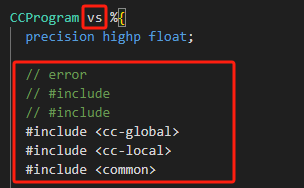
CCProgram vs %{
precision highp float;
#include
#include
in vec3 a_position;
in vec4 a_color;
out vec4 v_color;
#if USE_TEXTURE
in vec2 a_uv0;
out vec2 v_uv0;
#endif
#if USE_FAKE3D
varying vec3 camera_pos;
varying vec2 offset;
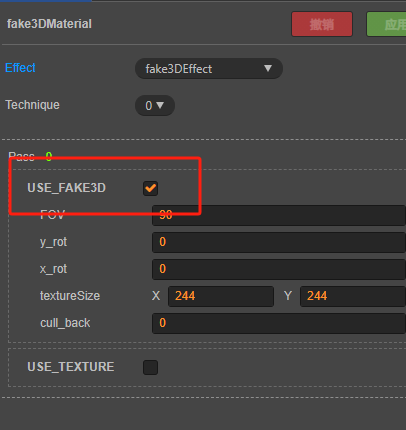
uniform Fake3D_vs {
vec2 textureSize;
float FOV;
float y_rot;
float x_rot;
};
#endif
void main () {
vec4 pos = vec4(a_position, 1);
#if USE_FAKE3D
  vec2 UV = a_uv0;
  float sin_b = sin(y_rot / 180. * PI);
  float cos_b = cos(y_rot / 180. * PI);
  float sin_c = sin(x_rot / 180. * PI);
  float cos_c = cos(x_rot / 180. * PI);

  // Y轴旋转矩阵
  mat3 inv_rot_mat_y = mat3(
    vec3(cos_b, 0.0  , sin_b),
    vec3(0.0  , 1.0  , 0.0),
    vec3(-sin_b, 0.0  , cos_b)
  );

  // X轴旋转矩阵
  mat3 inv_rot_mat_x = mat3(
    vec3(1.0  , 0.0  , 0.0),
    vec3(0.0  , cos_c  , -sin_c),
    vec3(0.0  , sin_c  , cos_c)
  );

  // 合成的旋转矩阵
  mat3 inv_rot_mat = inv_rot_mat_y * inv_rot_mat_x;

  // 计算投影角度的正切
  float t = tan(FOV / 360. * PI);
  float v = (0.5 / t) + 0.5;

  // 计算模拟的摄像机位置 和 偏移量
  camera_pos = inv_rot_mat * vec3(UV - 0.5, 0.5 / t);
  camera_pos.xy *= inv_rot_mat[2].z * v;
  offset = inv_rot_mat[2].xy * v;

  pos.x += (UV.x - 0.5) * textureSize.x;
  pos.y -= (UV.y - 0.5) * textureSize.y;

#endif

#if CC_USE_MODEL
pos = cc_matViewProj * cc_matWorld * pos;
#else
pos = cc_matViewProj * pos;
#endif

#if USE_TEXTURE
v_uv0 = a_uv0;
#endif

v_color = a_color;

gl_Position = pos;
}
}%
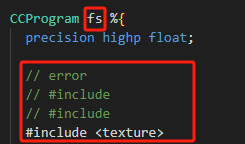
CCProgram fs %{
precision highp float;
#include
#include
in vec4 v_color;
#if USE_FAKE3D
varying vec3 camera_pos;
varying vec2 offset;
uniform Fake3D_fs {
int cull_back;
};
#endif
#if USE_TEXTURE
in vec2 v_uv0;
uniform sampler2D texture;
#endif
void main () {
vec4 o = vec4(1, 1, 1, 1);
#if USE_TEXTURE
  CCTexture(texture, v_uv0, o);
#endif

#if USE_FAKE3D

  // 启用背面剔除 && 摄像机位置在背面 => 丢弃片段
  if (cull_back != 0 && camera_pos.z <= 0.) discard;

  // 将摄像机位置转换为屏幕上的 UV 坐标, 减去偏移量
  vec2 uv = (camera_pos.xy / camera_pos.z).xy - offset;

  // 纹理采样, 加上 0.5 以调整偏移
  o = texture(texture, uv + 0.5);

  // 控制纹理的透明度,使超出范围的部分透明
  o.a *= step(max(abs(uv.x), abs(uv.y)), 0.5);

#endif

o *= v_color;

gl_FragColor = o;
}
}%