这是之前的帖子链接:2D 大风吹树效果求思路
以及我正在开坑的关联的单机游戏: Cocos Creator | Game_1
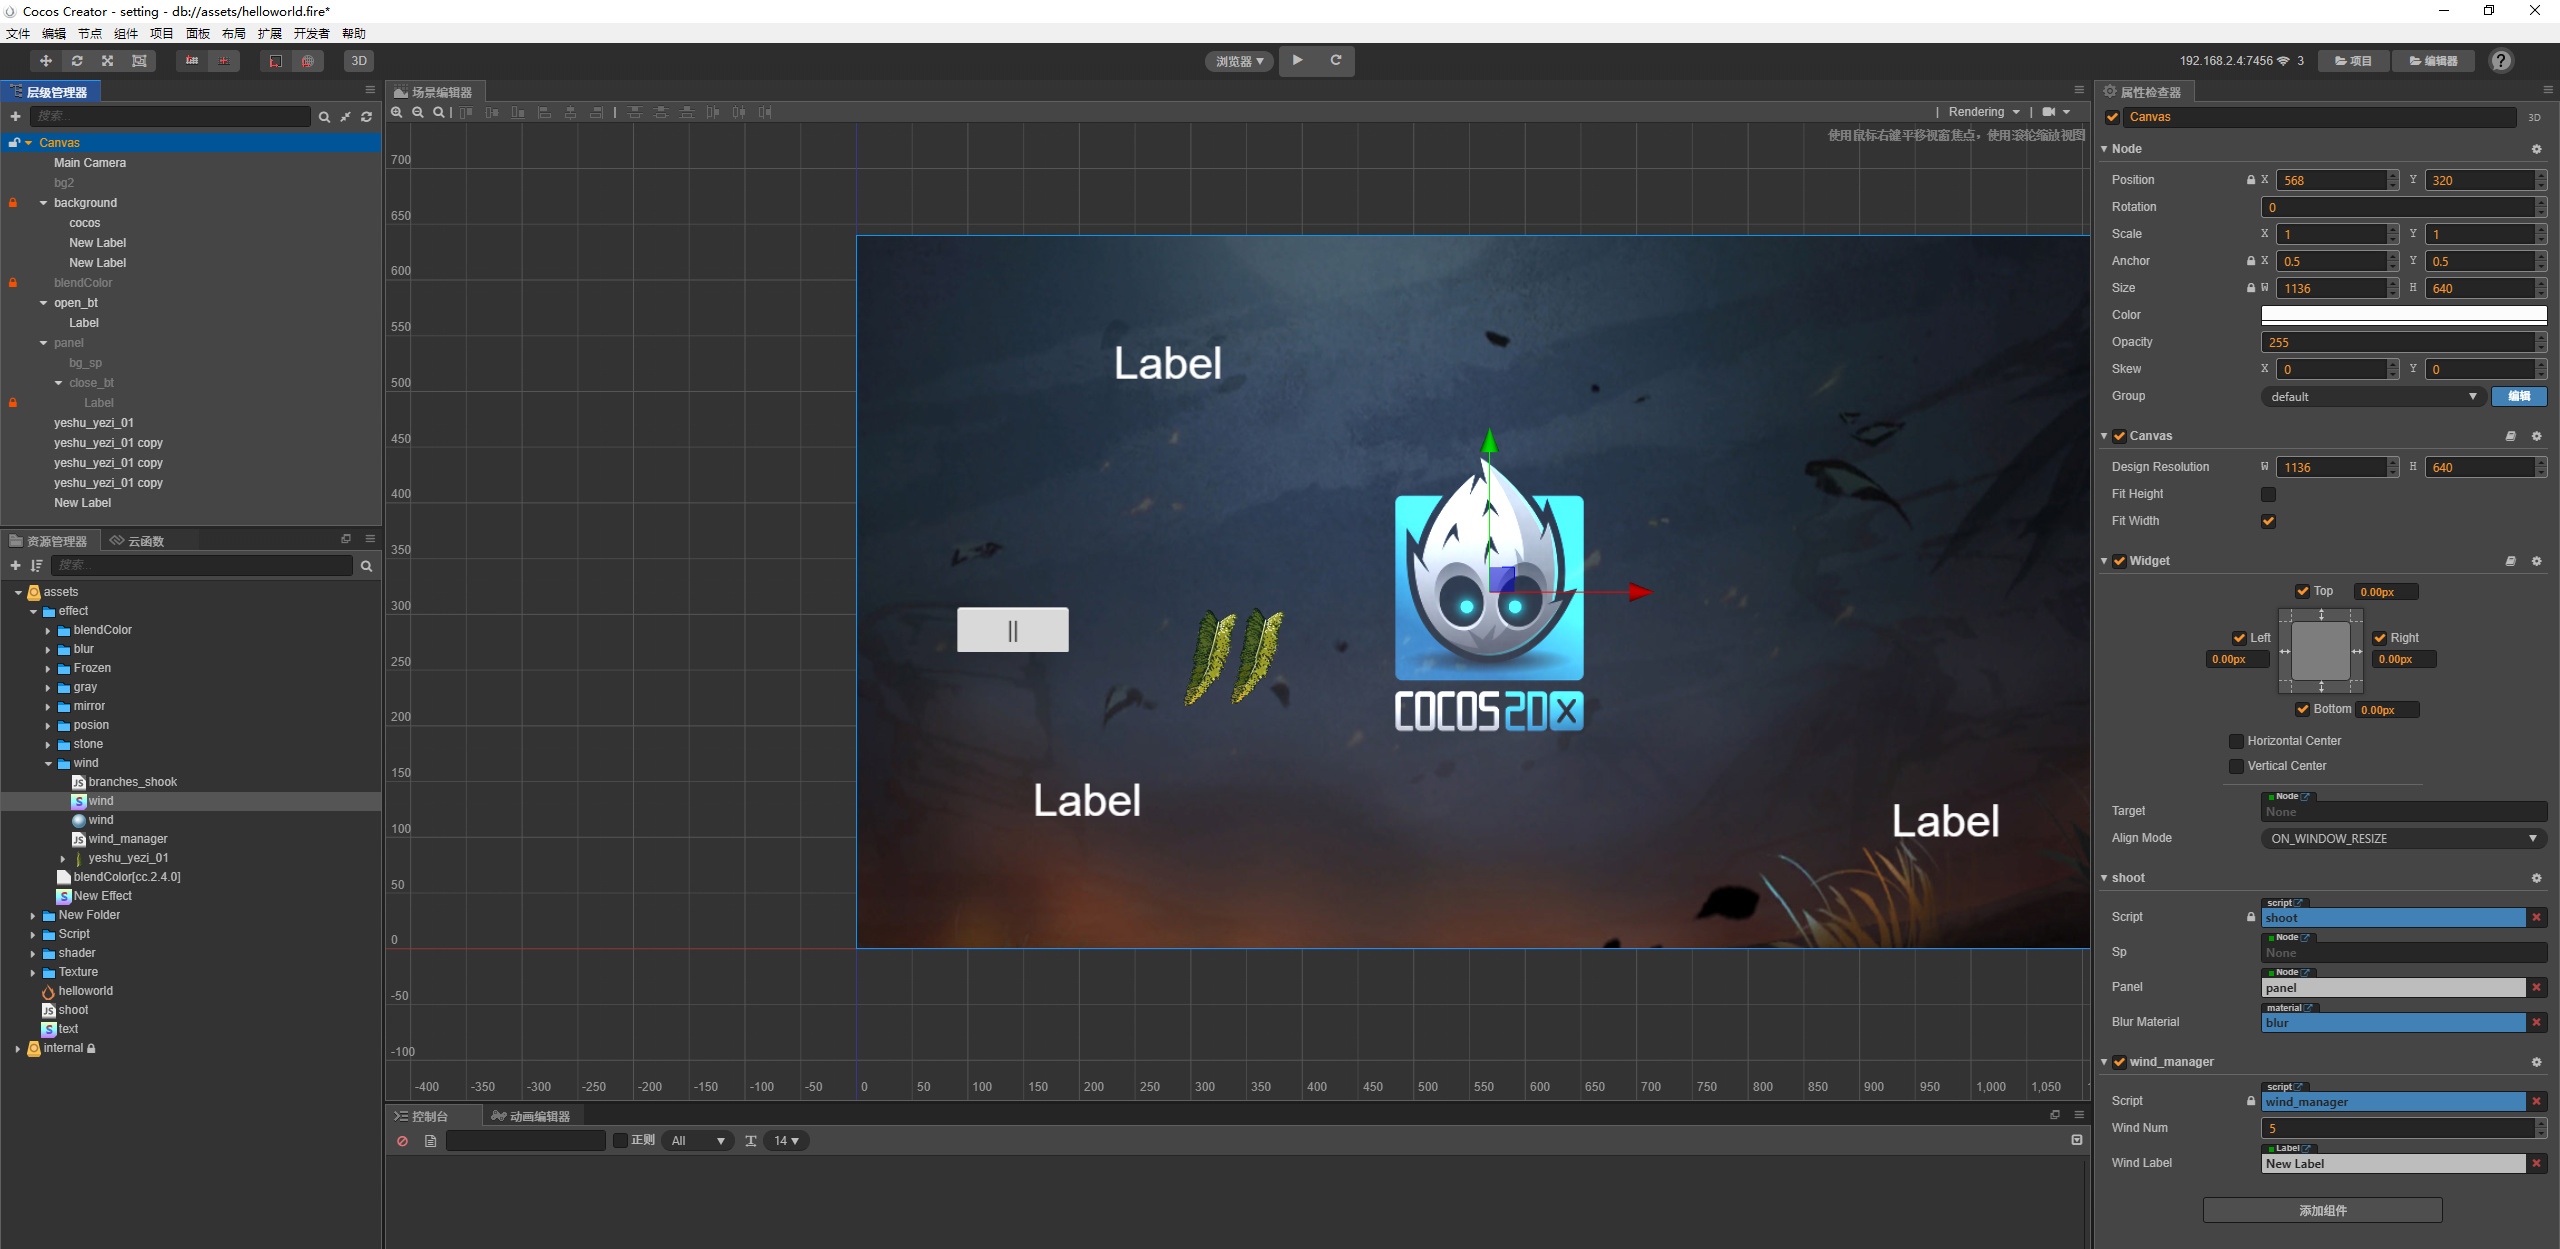
效果体验 链接:Cocos Creator | NewProject
问题1:要做什么?
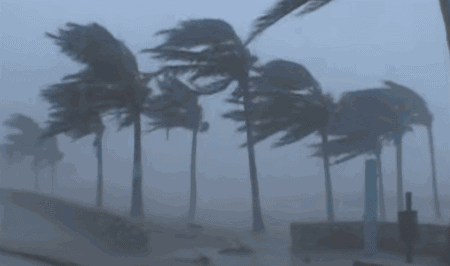
观察树枝受风时的变化,我们看到 1. 树枝弯曲了 2.树枝在摆动
参考示例:CocosCreator Shader学习(四):花草摆动效果_三思而先行的博客-CSDN博客
shader 知识点 Cocos Creator Shader Effect 系列 - 1 - 材质,Effect,Inspector,纹理之间的关系 - 简书
问题2:如何制作?
分3个部分:
   1.shader能使图片弯曲:
     制作能够使图片弯曲的shader ,设置对弯曲程度可变的风力值参数
     将shader设置给材质, 再将材质在树枝节点

   2.树枝js脚本:能够控制节点角度变化
     制作摆动风力函数sin函数, 设置对角度幅度变化的风力值参数

   3.风力管理js
具体步骤:
1. 制作能够使图片弯曲的shader,设置对弯曲程度可变的风力值参数
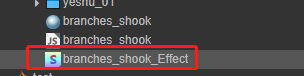
//文件:sbranches_shook_Effect.effect
  CCEffect %{
    techniques:
    - passes:
      - vert: vs
        frag: fs
        blendState:
          targets:
          - blend: true
        rasterizerState:
          cullMode: none
        properties:
          texture: { value: white }
          alphaThreshold: { value: 0.5 }

          # time : {
          #         value: 0.0,
          #         editor: {
          #           tooltip: "时间"
          #         }
          # }
          wind_num: {
                  value: 1.0,
                  editor: {
                    tooltip: "风力值"
                  }
                }
          radian: {
                  value: 1.0,
                  editor: {
                    tooltip: "旋转值"
                  }
                }
          Flexibility: { value: 1.0,
                  editor: {
                    tooltip: "柔韧度,数值越大越容易弯曲"
                  }
                }
          value_1: {
                  value: 0.5,
                  editor: {
                    tooltip: "参数1"
                  }
          }
          value_2: {
                  value: 4.0,
                  editor: {
                    tooltip: "参数2"
                  }
          }
  }%


  CCProgram vs %{
    precision highp float;

    #include <cc-global>
    #include <cc-local>

    in vec3 a_position;
    in vec4 a_color;
    out vec4 v_color;

    #if USE_TEXTURE
    in vec2 a_uv0;
    out vec2 v_uv0;
    #endif

    void main () {
      vec4 pos = vec4(a_position, 1);

      #if CC_USE_MODEL
      pos = cc_matViewProj * cc_matWorld * pos;
      #else
      pos = cc_matViewProj * pos;
      #endif

      #if USE_TEXTURE
      v_uv0 = a_uv0;
      #endif

      v_color = a_color;

      gl_Position = pos;
    }
  }%


  CCProgram fs %{
    precision highp float;

    #include <alpha-test>

    in vec4 v_color;

    #if USE_TEXTURE
    in vec2 v_uv0;
    uniform sampler2D texture;

    // uniform inputData{
    //   float time;
    // };

    uniform inputData1{
      float wind_num;
    };

    uniform inputData2{
      float radian;
    };

    uniform inputData3{
      float Flexibility;
    };

    uniform inputData4{
      float value_1;
    };

    uniform inputData5{
      float value_2;
    };

    #endif


    void main () {
      vec4 o = vec4(1, 1, 1, 1);

      // 风吹植物变形算法
      // 一.脚本功能
      // 1.风力大小,方向角度
      // 2.材质柔韧性越小的,弯曲幅度越小
      // 二.shader功能
      // 1.表现弯曲方向一致,计算包含自身旋转
      // 2.素材要求完整正方形,防止动画裁切
      // 3.素材要求以底部为不动点,


      // 根据自身角度计算 风向量,风力值决定了最大点偏移多少

      float wind_x = -1.0 * wind_num  * cos( radian );

      //////////////////////// 弯曲算法: ____________________________

      // 获取v_uv0这个点距离中心点的真实距离
      float height = 1.0 - v_uv0.y;


      // 使用pow函数,让距离中心点越长的地方摆动幅度越明显且成抛物线形态(中心点以下部位不参与偏移)

      // x轴偏移量
      float offset_x = value_1 * pow(height, value_2) * wind_x;
      // x新的坐标
      float new_x =  v_uv0.x + offset_x;
      // 通过三角函数,计算出Y轴偏移量
      // y的新坐标
      float offset_y = pow(offset_x, 2.0)  *  2.0;

      float new_y =  v_uv0.y - offset_y;

      ////////////////////////风量抖动算法_____________________________


      ////////////////////////

      #if USE_TEXTURE
      // fract函数是GLSL内建函数,取小数部分
      o *= texture(texture, fract(vec2(new_x, new_y)));

        if(new_x <0.0 || new_x>1.0 || new_y<0.0){
        o = vec4(0.0, 0.0, 0.0, 0.0);
        }

        #if CC_USE_ALPHA_ATLAS_TEXTURE
        o.a *= texture2D(texture, v_uv0 + vec2(0, 0.5)).r;
        #endif
      #endif

      o *= v_color;

      ALPHA_TEST(o);


      gl_FragColor = o;
    }
  }%
// 然后新建一个材质,设置材质的effect,为上面的文件

// 新建树枝图片节点 //注意::(被使用的图片需要 去掉图片素材packable ,否则有概率自动合图合图将错误计算uv)

// 将材质放到树枝

//树枝脚本:branches_shook.js
cc.Class({
    extends: cc.Component,

    properties: {
        material: {
            default: null,
            type: cc.Material
        },


        time: {
            default: 0
        },


        wind_num: {
            default: 1,
            tooltip: "风力值"
        },

        radian: {
            default: 0,
            tooltip: "旋转角度转弧度值"
        },

        Flexibility: {
            default: 1,
            tooltip: "柔韧度" // 柔韧度影响弯曲度
        }
    },

    // LIFE-CYCLE CALLBACKS:

    onLoad() {

        this.set_raotaion();

    },


    start() {
        this.material = this.node.getComponent(cc.Sprite).getMaterial(0);
    },

    update(dt) {
        this.time += dt;
        if (globalThis.WeatherManager) {

            this.wind_num = globalThis.WeatherManager.wind_num;

        }

        if (this.node.active && this.material != null) {

            this.radian = (this.node.angle) * Math.PI / 180;


            // this.material.setProperty("time", this.time);
            this.material.setProperty("wind_num", this.wind_num);
            this.material.setProperty("radian", this.radian);
            this.material.setProperty("Flexibility", this.Flexibility);

        }

        this.update_wind(dt);

    },


    // 树枝对风力值感受

    // 1.树枝角度变形
    set_raotaion: function () {
        // 记录树枝的角度
        this.angle = this.node.angle;
        if (this.angle < 0) {
            this.angle += 360;
        }

        this.time = Math.random() * 2;
    },

    // 2.根据风大小方向,动态抖动树叶角度,抖动树叶弯曲值1
    update_wind: function (dt) {

        this.time += dt;

        // 根据时间值,计算出sin规律
        var _num1 = Math.sin(this.time * (this.wind_num / 2));

        // 计算出偏移角度

        // if (this.wind_num > 0) {
        if (this.angle > 90 && this.angle < 270) {
            this.node.angle = this.angle + (this.wind_num * (_num1 + 1));
        } else {
            this.node.angle = this.angle - (this.wind_num * (_num1 + 1));
        }

        // }


        // if (this.wind_num < 0) {
        //     if (this.angle > 90 && this.angle < 270) {
        //         this.node.angle = this.angle + (this.wind_num * (_num1 + 1) * 2);
        //     } else {
        //         this.node.angle = this.angle - (this.wind_num * (_num1 + 1) * 2);
        //     }

        // }

        // 计算出偏移抖动值1
        this.material.setProperty("value_1", Math.abs(this.wind_num) * (_num1 + 1) * 0.02 + 0.1);


    }
});
wind_manager.js
cc.Class({
extends: cc.Component,

properties: {
    wind_num: 1,

    wind_label: {
        default: null,
        type: cc.Label,
        tooltip: "风力描述label"
    }
},

// LIFE-CYCLE CALLBACKS:

onLoad() {

    globalThis.WeatherManager = this;


},

start() {

},

update(dt) {

    this.wind_label.string = "风力: " + this.wind_num;


},


on_change_wind: function (slider, customEventData) {

    this.wind_num = slider.progress * 10 - 5;

}
});
设置一个滑动器,将风回调函数绑定到上面
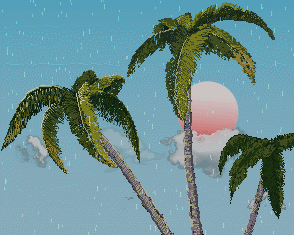
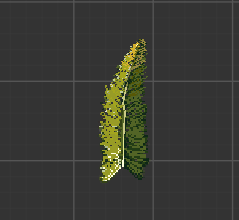
最终效果:
为什么没有第一张图好看…emmmm, 那是…天气昼夜系统的效果

附上demo: NewProject.zip (1.3 MB)