使用环境参考
CocosCreator v3.7.3
前情提要
在之前的 2.x 版本中,CocosCreator 关于贝塞尔曲线是内置了 API,可以让节点动画直接使用。但在升级到 tween 实现后,灵活了但没有了现成的贝塞尔曲线的实现方法。需要自己实现一下:
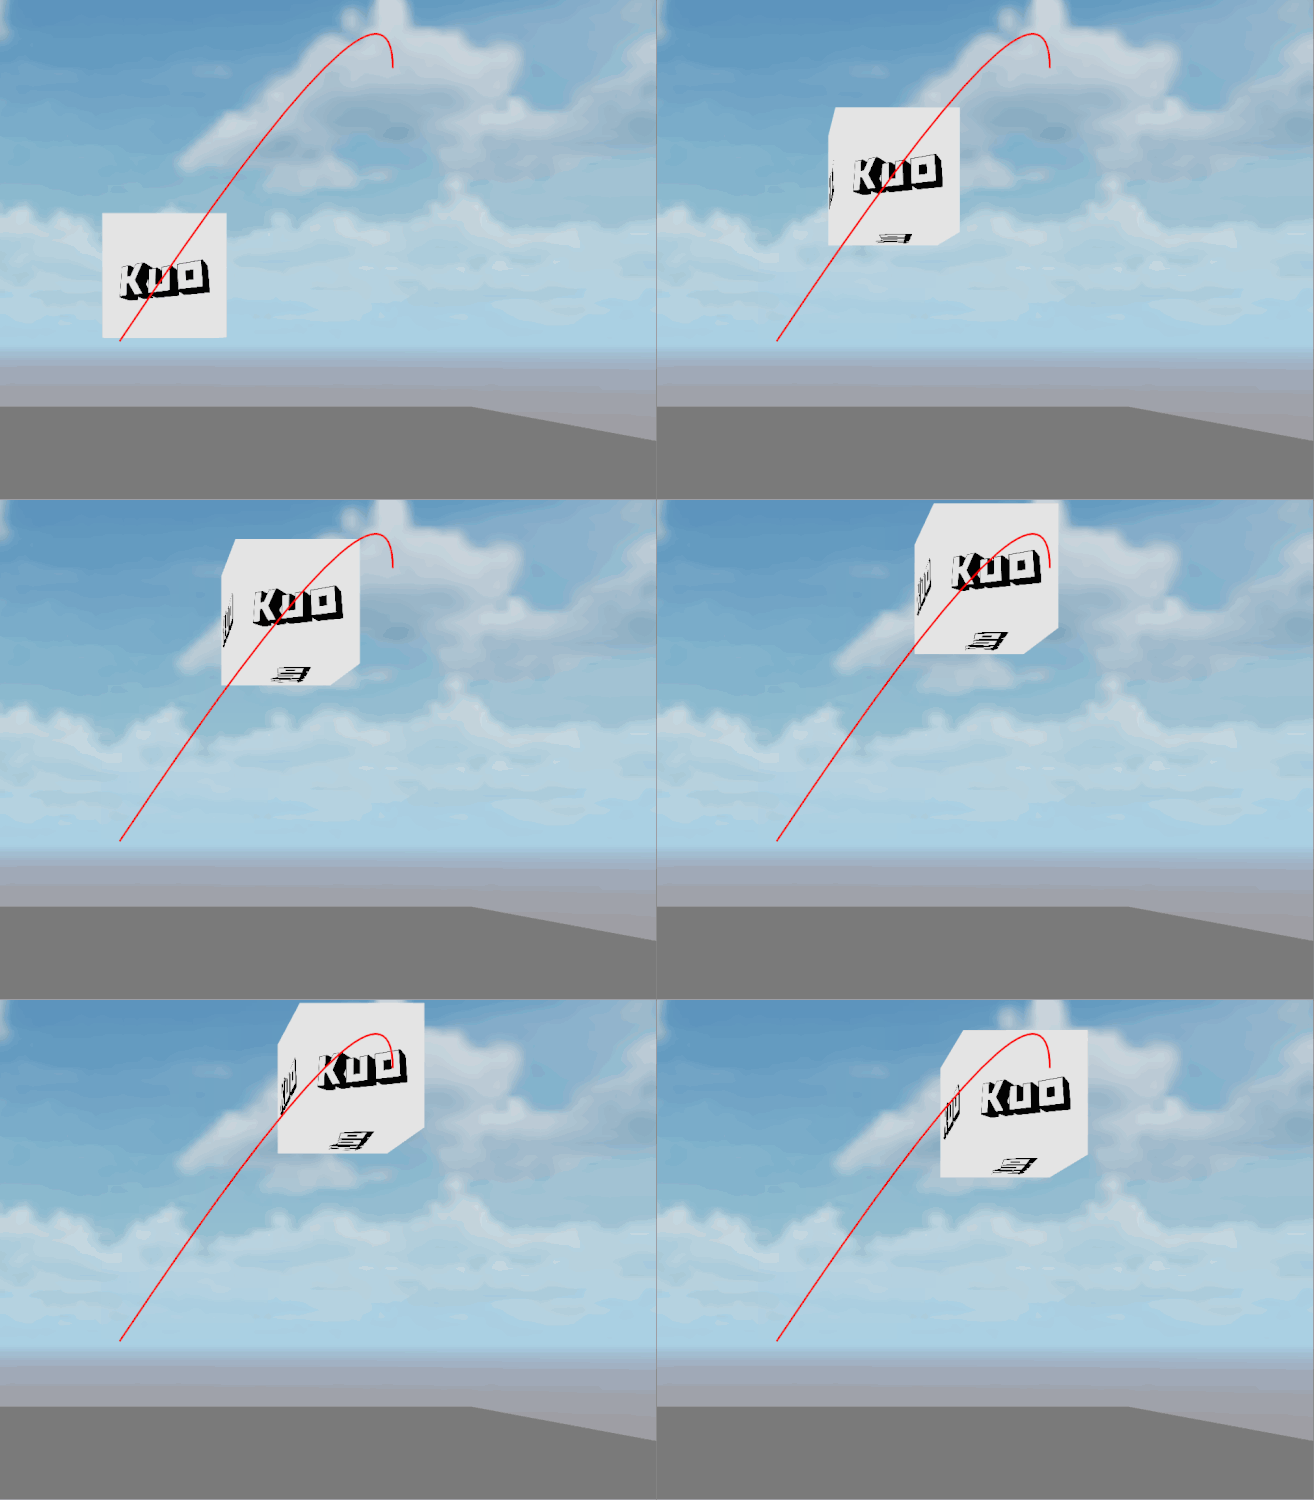
二次贝塞尔曲线(一个控制点的),为了方便观察,我用绘图组件示意了一下路径
import { _decorator, Component, Graphics, Node, tween, v3, Vec3 } from 'cc';

const { ccclass, property } = _decorator;

@ccclass('BTest1')

export class BTest1 extends Component {

    @property(Graphics) graphics: Graphics = null;

    @property(Node) box: Node = null;

    start() {

        // 绘制路径做对比

        this.graphics.moveTo(0, 0);

        this.graphics.quadraticCurveTo(200, 300, 200, 200);

        this.graphics.stroke();

        // 三维空间的缓动

        const quadraticCurve = (t: number, p1: Vec3, cp: Vec3, p2: Vec3, out: Vec3) => {

            out.x = (1 - t) * (1 - t) * p1.x + 2 * t * (1 - t) * cp.x + t * t * p2.x;

            out.y = (1 - t) * (1 - t) * p1.y + 2 * t * (1 - t) * cp.y + t * t * p2.y;

            out.z = (1 - t) * (1 - t) * p1.z + 2 * t * (1 - t) * cp.z + t * t * p2.z;

        }

        const startPos = v3(0, 0, 0);

        const controlPos = v3(2, 3, 0);

        const endPos = v3(2, 2, 0);

        const tempVec3 = v3();


        tween(this.box).to(3, { position: endPos }, { onUpdate: (target, ratio) => {

            quadraticCurve(ratio, startPos, controlPos, endPos, tempVec3);

            this.box.setPosition(tempVec3);

        }}).start();

    }

}
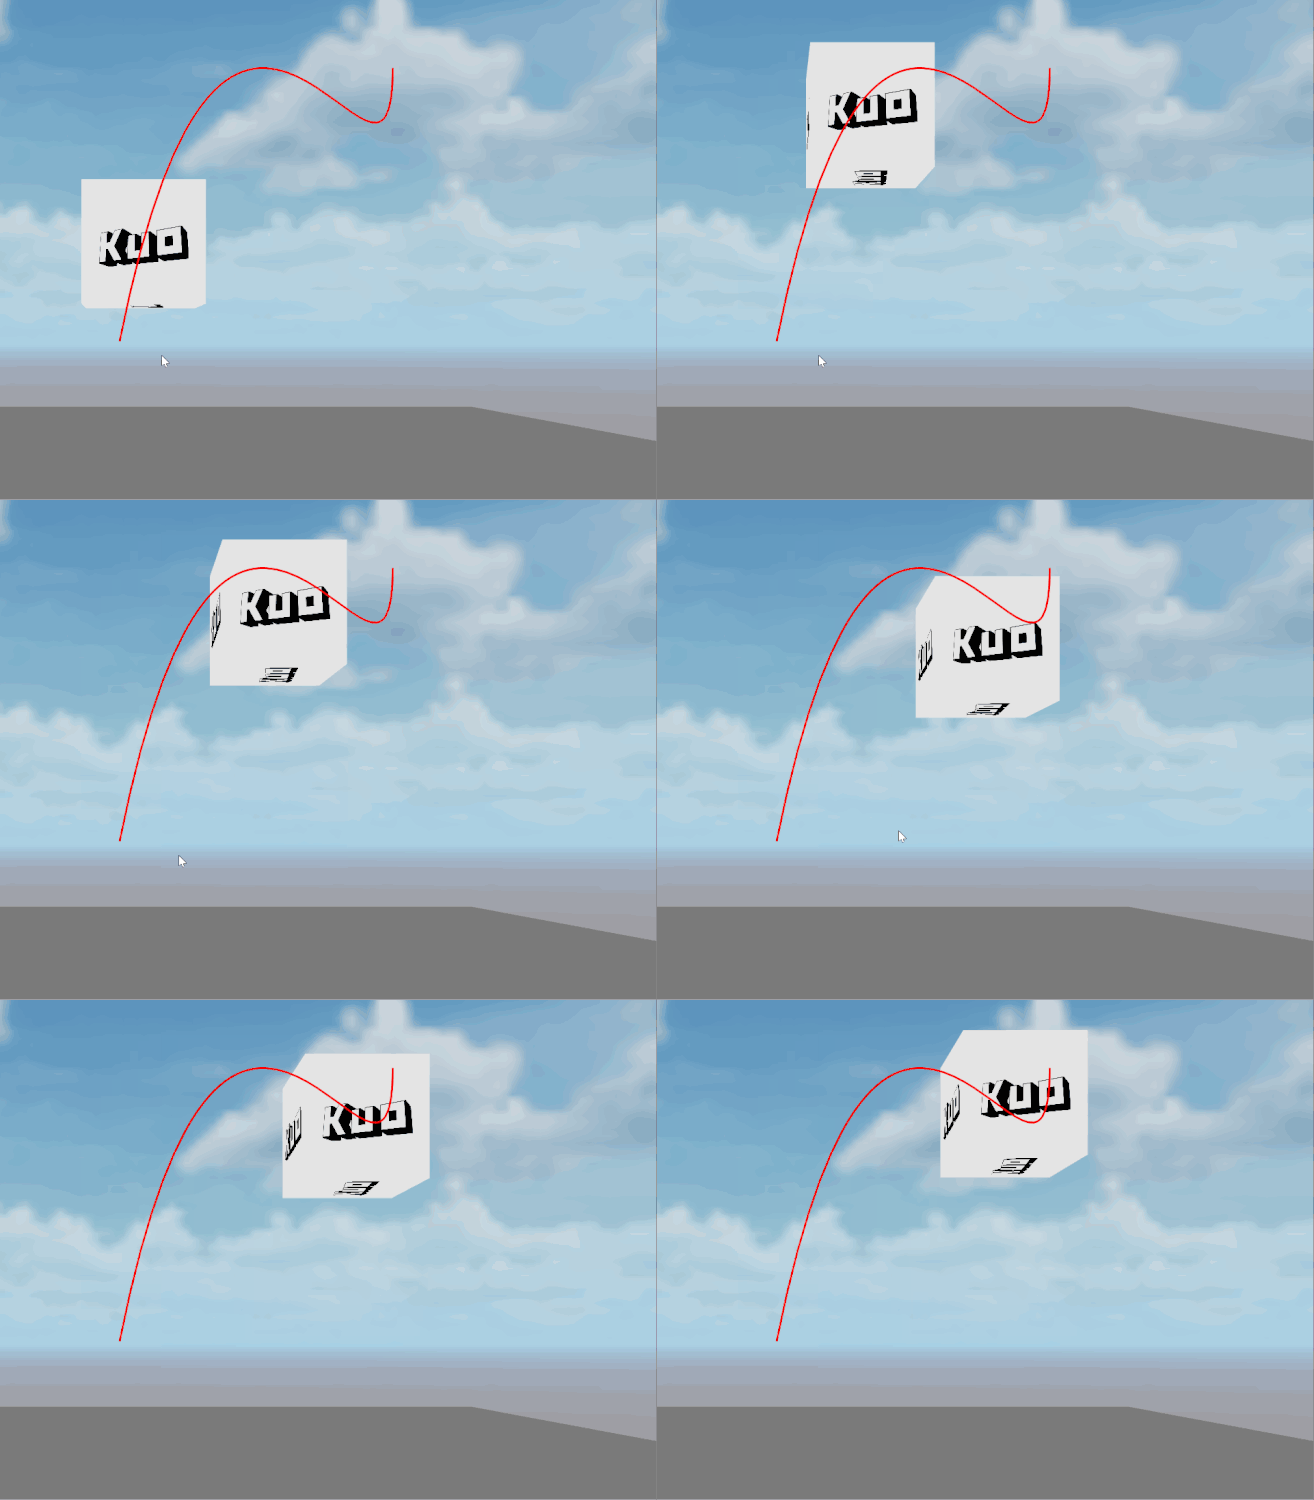
接下来是两个控制点的,这个三次贝塞尔的计算公式 CocosCreator 进行了内置,不过是一维的,搞成三维:
import { _decorator, bezier, Component, Graphics, Node, tween, v3, Vec3 } from 'cc';

const { ccclass, property } = _decorator;

@ccclass('BTest1')

export class BTest1 extends Component {

    @property(Graphics) graphics: Graphics = null;

    @property(Node) box: Node = null;

    start() {

        // 绘制路径做对比

        this.graphics.moveTo(0, 0);

        this.graphics.bezierCurveTo(80, 400, 200, 50, 200, 200);

        this.graphics.stroke();

        // 三维空间的缓动

        const bezierCurve = (t: number, p1: Vec3, cp1: Vec3, cp2: Vec3, p2: Vec3, out: Vec3) => {

            out.x = bezier(p1.x, cp1.x, cp2.x, p2.x, t);

            out.y = bezier(p1.y, cp1.y, cp2.y, p2.y, t);

            out.z = bezier(p1.z, cp1.z, cp2.z, p2.z, t);

        }

        const startPos = v3(0, 0, 0);

        const controlPos1 = v3(0.8, 4, 0);

        const controlPos2 = v3(2, 0.5, 0);

        const endPos = v3(2, 2, 0);

        const tempVec3 = v3();


        tween(this.box).to(3, { position: endPos }, { onUpdate: (target, ratio) => {

            bezierCurve(ratio, startPos, controlPos1, controlPos2, endPos, tempVec3);

            this.box.setPosition(tempVec3);

        }}).start();

    }

}
总结
将以上方法封装到自己的 Util 中就可以愉快滴使用啦!
我是阔阔,一位喜欢研究的程序员!
个人网站:www.kuokuo666.com
2023!Day Day Up!


