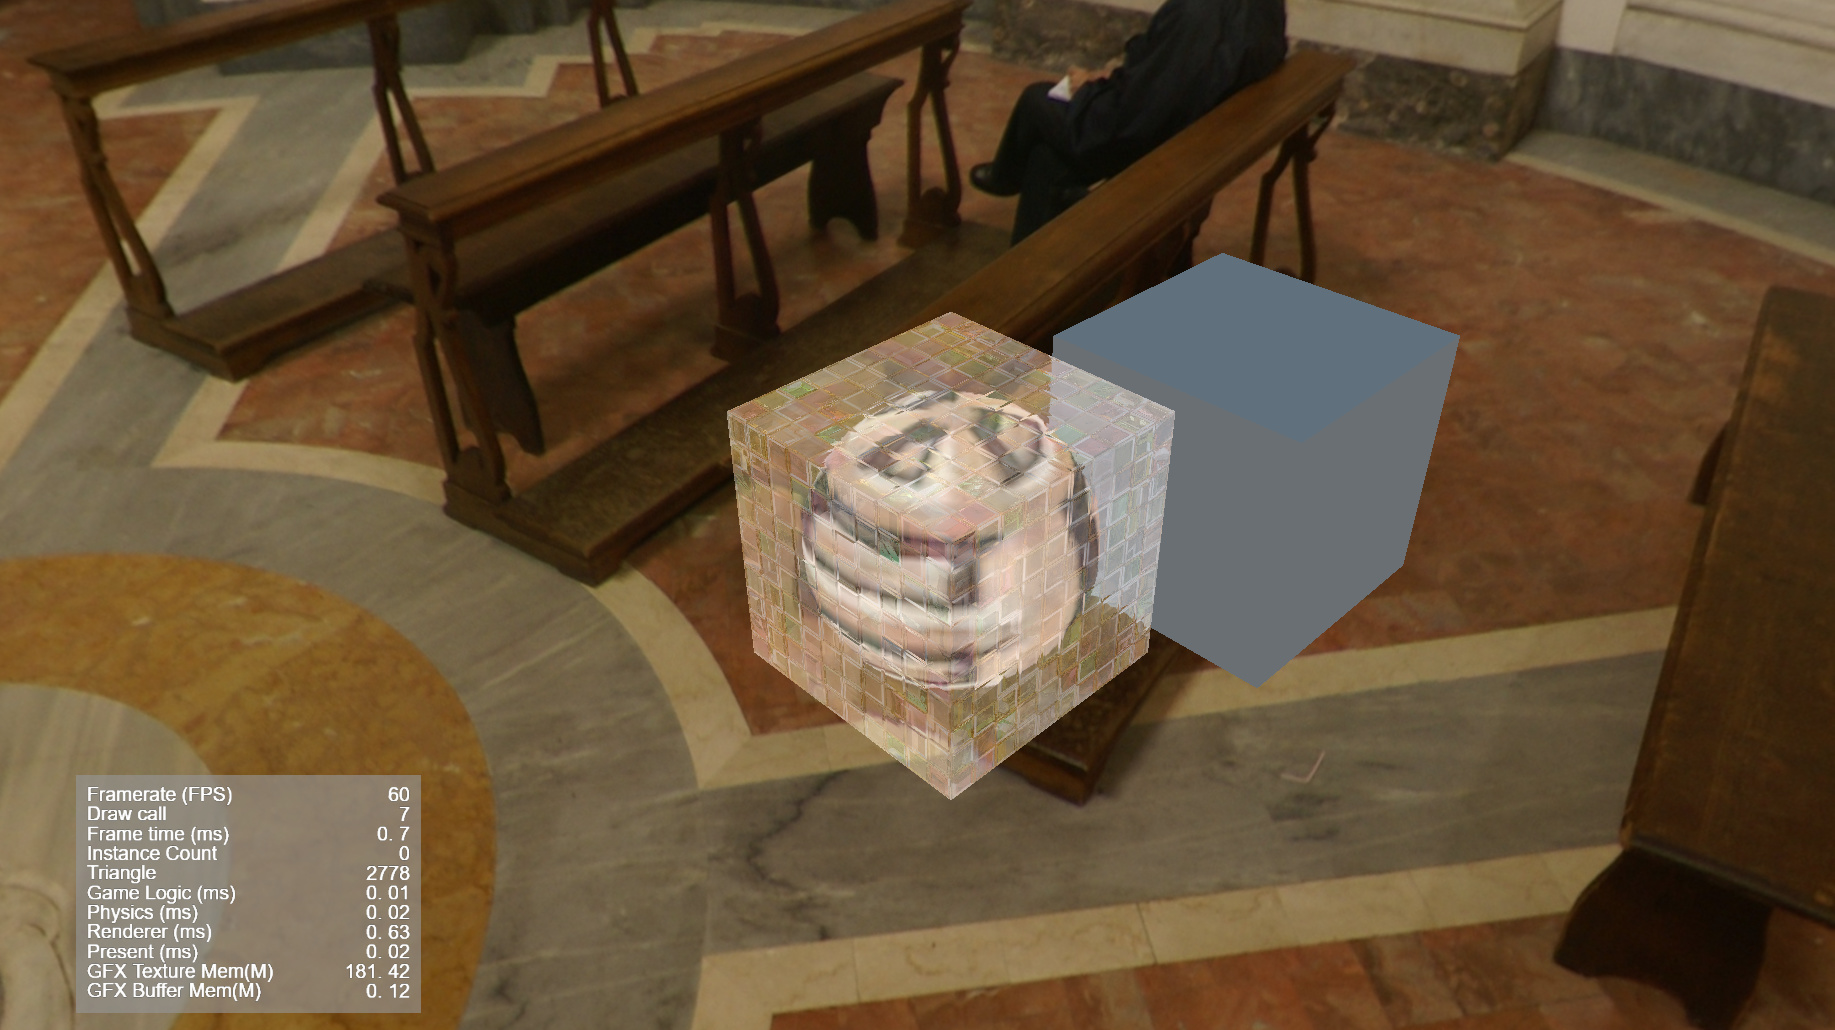
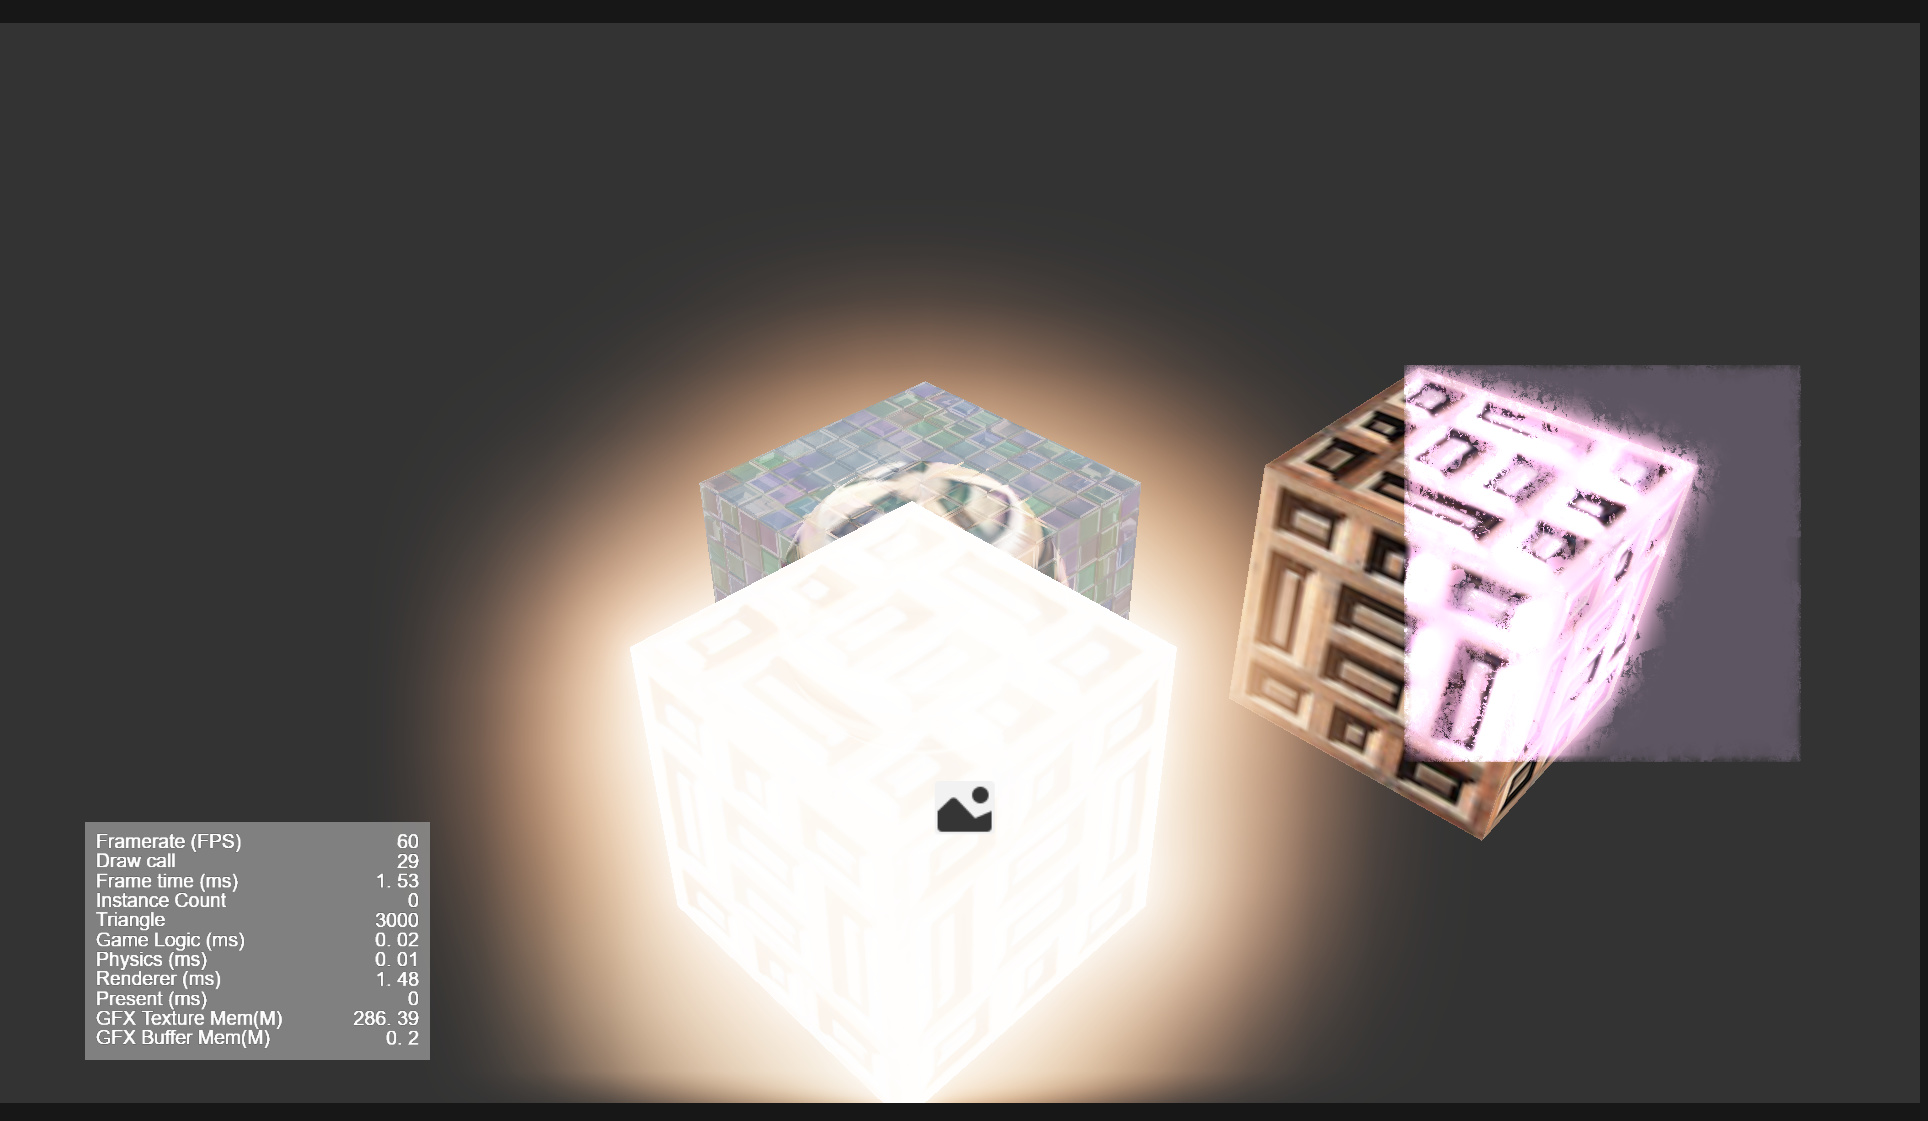
欢迎体验:仓库链接
你是个小白你在学习草衣熏大佬的cocos shader入门精要 发现 cococs竟然没有grabPass 他Unity有的我们cc也要有 于是我开始探究使用自定义渲染管线来实现,通过翻阅论坛和cocos文档踩了无数坑,一开始你的思路是直接魔改引擎添加屏幕截图的webgl缓冲命令,实际效果是编辑器有效果 但是 浏览器没有效果 通过抓帧发现 截图指令总是在玻璃物品渲染后,但是frmaebuffer是能正常写入的 于是在编辑器崩溃了不知道多少次情况下终于折腾出这个屏幕抓取方案(虽然不是真正的抓屏但是也能用)
-
屏幕抓取
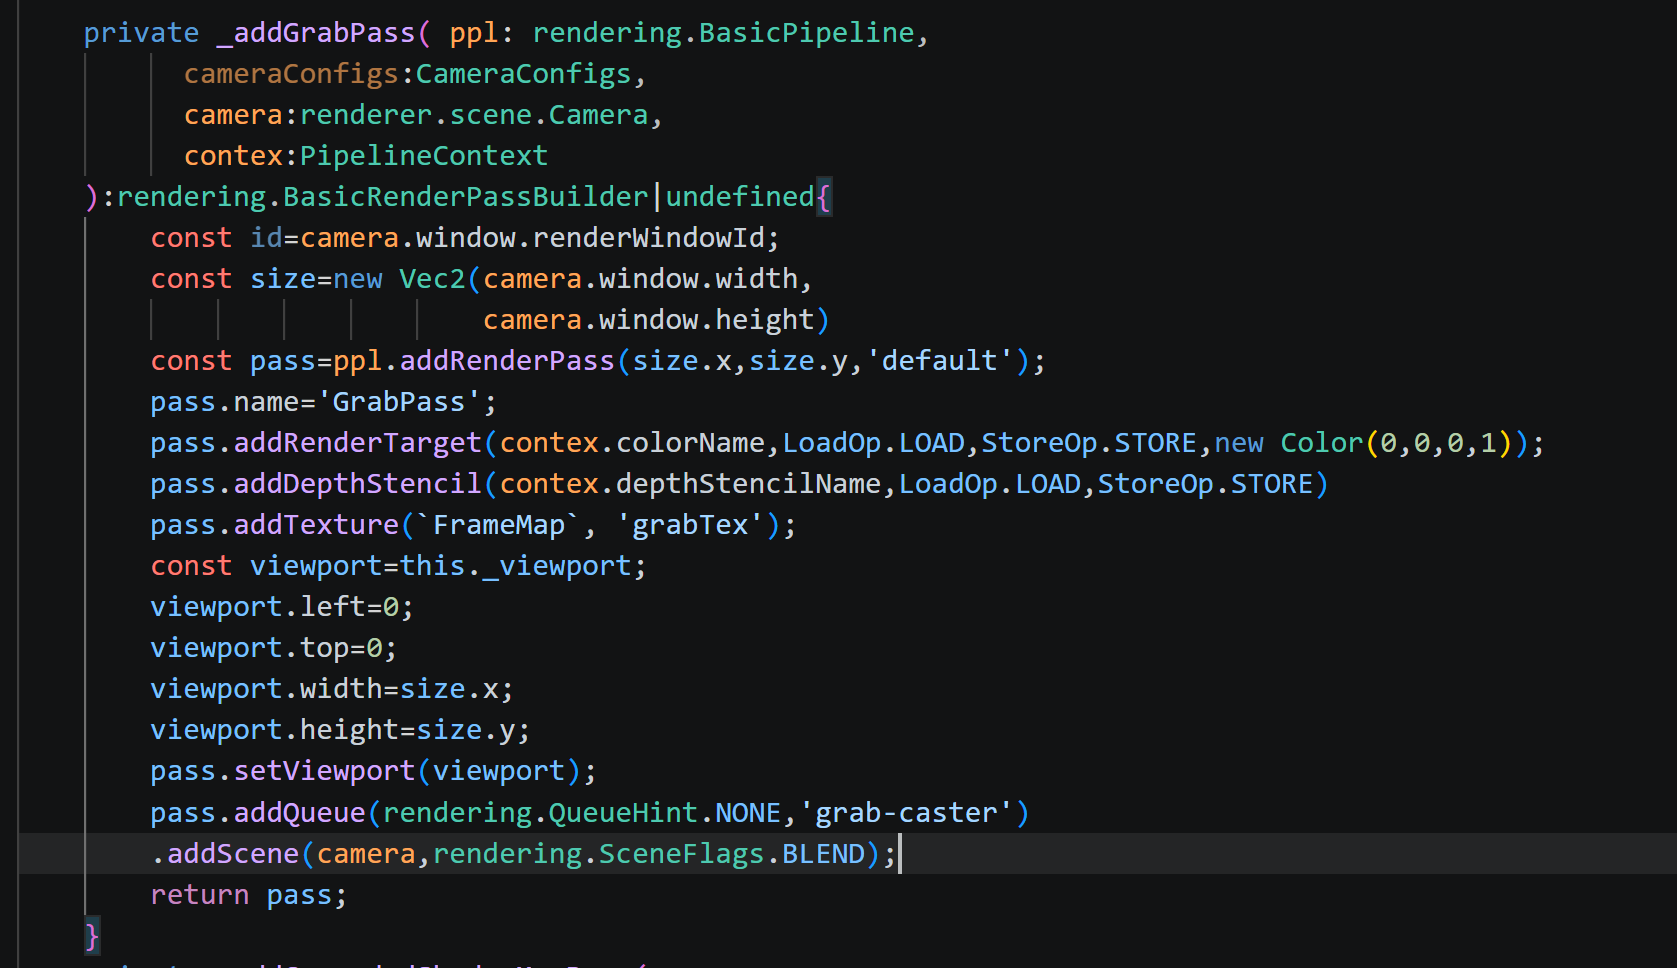
首先,将场景中所有 Phase标记为缺省的常规物体渲染到一张离屏 Framebuffer 中,存储到颜色纹理FrameMap。
注册FrameMap贴图
修改_buildForwardMainLightPass函数将输出目标由屏幕改成FrameMap
-
抓屏物体渲染
接着,渲染 Phase 标记为grab-caster的物体(如玻璃、水面等)。
在它们的 Shader 中采样grabTex(由注册贴图FrameMap输入到着色器),直接输出到 屏幕 。
玻璃shader:
pass为资源更新频率

// glass.effect
CCEffect %{
techniques:
- name: transparent
passes:
- vert: glass-vs:vert
frag: glass-fs:frag
phase: grab-caster
depthStencilState:
depthTest: true
depthWrite: true
blendState:
targets:
- blend: true
blendSrc: src_alpha
blendDst: one_minus_src_alpha
rasterizerState:
cullMode: back
properties:
mainTexture: { value: white }
bumpMap: { value: grey }
envCubeMap: { value: white }
distortion: { value: 10.0, editor: { range: [0.0, 100.0] } }
refractAmount: { value: 0.6, editor: { range: [0.0, 1.0] } }
glossiness: { value: 0.5, editor: { range: [0.0, 1.0] } }
fresnelPower: { value: 2.0, editor: { range: [0.5, 8.0] } }
}%
CCProgram glass-vs %{
precision highp float;
#include <legacy/input>
#include <builtin/uniforms/cc-global>
#include <builtin/uniforms/cc-local>
#include <legacy/decode-base>
#include <legacy/local-batch>
out vec2 v_uv;
out vec2 v_uv_bump;
out vec4 v_scrPos;
out vec3 v_TtoW0;
out vec3 v_TtoW1;
out vec3 v_TtoW2;
out vec3 v_worldPos;
vec4 vert() {
vec4 position;
CCVertInput(position);
mat4 matWorld;
CCGetWorldMatrix(matWorld);
vec4 worldPos = matWorld * position;
v_worldPos = worldPos.xyz;
vec4 clipPos = cc_matProj * (cc_matView * worldPos);
v_scrPos = clipPos;
v_uv = a_texCoord;
v_uv_bump = a_texCoord;
vec3 worldNormal = normalize((cc_matWorldIT * vec4(a_normal, 0.0)).xyz);
vec3 worldTangent = normalize((matWorld * vec4(a_tangent.xyz, 0.0)).xyz);
vec3 worldBinormal = cross(worldNormal, worldTangent) * a_tangent.w;
v_TtoW0 = vec3(worldTangent.x, worldBinormal.x, worldNormal.x);
v_TtoW1 = vec3(worldTangent.y, worldBinormal.y, worldNormal.y);
v_TtoW2 = vec3(worldTangent.z, worldBinormal.z, worldNormal.z);
return clipPos;
}
}%
CCProgram glass-fs %{
precision highp float;
#include <legacy/output-standard>
#include <builtin/uniforms/cc-global>
uniform CustomUniforms {
float distortion;
float refractAmount;
// 新增:光泽度 / 折射色彩增强强度
float glossiness; // 范围 0~1,控制高光强度和色彩增强
float fresnelPower; // 菲涅尔指数,控制边缘光范围
};
uniform sampler2D mainTexture;
uniform sampler2D bumpMap;
uniform samplerCube envCubeMap;
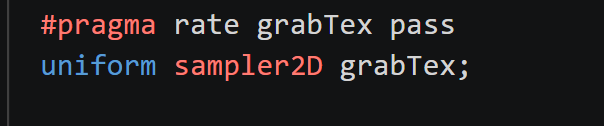
#pragma rate grabTex pass
uniform sampler2D grabTex;
in vec2 v_uv;
in vec2 v_uv_bump;
in vec4 v_scrPos;
in vec3 v_TtoW0;
in vec3 v_TtoW1;
in vec3 v_TtoW2;
in vec3 v_worldPos;
// 辅助函数:增强颜色饱和度与亮度(使折射更“晶莹”)
vec3 enhanceColor(vec3 color, float amount) {
// 亮度系数 (Rec.709)
float luma = dot(color, vec3(0.2126, 0.7152, 0.0722));
vec3 saturated = mix(vec3(luma), color, 1.0 + amount * 0.5);
// 同时略微提高整体亮度
return mix(saturated, saturated * 1.2, amount);
}
vec4 frag() {
// 正确的 UV 转换:NDC -> [0,1]
vec2 screenUV = (v_scrPos.xy / v_scrPos.w) * 0.5 + 0.5;
#if CC_EDITOR
screenUV.y = 1.0 - screenUV.y;
#endif
// 采样法线贴图并解码
vec4 bumpTex = texture(bumpMap, v_uv_bump);
vec3 bump = bumpTex.xyz * 2.0 - 1.0;
// 屏幕 UV 扰动
vec2 screenTexelSize = 1.0 / cc_nativeSize.xy;
vec2 offset = bump.xy * distortion * screenTexelSize;
vec2 finalUV = screenUV + offset;
// 折射采样(背景颜色,可能是物体或天空盒)
vec3 refrColor = texture(grabTex, finalUV).rgb;
// ----- 核心增强:让任何背景都变得晶莹剔透 -----
// 1. 色彩增强:提高饱和度与亮度(glossiness 控制强度)
refrColor = enhanceColor(refrColor, glossiness);
// 2. 切线空间法线转换到世界空间
vec3 worldNormal = normalize(vec3(
dot(v_TtoW0, bump),
dot(v_TtoW1, bump),
dot(v_TtoW2, bump)
));
// 视角方向
vec3 worldViewDir = normalize(cc_cameraPos.xyz - v_worldPos);
vec3 reflectDir = reflect(-worldViewDir, worldNormal);
// 反射颜色(基于环境立方体贴图)
vec4 mainTexColor = texture(mainTexture, v_uv);
vec3 reflectColor = texture(envCubeMap, reflectDir).rgb * mainTexColor.rgb;
// 3. 菲涅尔效应:边缘更亮,增加通透感
float fresnel = pow(1.0 - abs(dot(worldNormal, worldViewDir)), fresnelPower);
// 菲涅尔叠加到折射颜色上(模拟边缘光)
vec3 fresnelGlow = vec3(0.8, 0.9, 1.0) * fresnel * glossiness;
refrColor += fresnelGlow;
// 4. 混合折射与反射(原始混合方式)
vec3 finalColor = mix(reflectColor, refrColor, refractAmount);
// 可选:根据菲涅尔微调最终透明度(如果需要半透玻璃效果,可启用 alpha)
float alpha = 1.0;
return CCFragOutput(vec4(finalColor, alpha));
}
}%
-
最终混合
最后,通过CombineGrabPass将grabTex(抓屏内容)与当前屏幕内容screenTex(玻璃物体) 进行线性混合
组合Pass:
 private _addCombineGrabPass(
        ppl: rendering.BasicPipeline,
        pplConfigs: Readonly<PipelineConfigs>,
        cameraConfigs: CameraConfigs & Readonly<GrabPassConfigs>,
        material: Material,
        camera: renderer.scene.Camera,
        width: number,
        height: number,
        inputRadiance: string,
        inputDepthStencil: string,
        outputRadianceName: string,
    ): rendering.BasicRenderPassBuilder {

        this._cocTexSize.x = 1.0 / width;
        this._cocTexSize.y = 1.0 / height;
        this._cocTexSize.z = width;
        this._cocTexSize.w = height;
        const id = cameraConfigs.renderWindowId;
        const combineGrabPass = ppl.addRenderPass(width, height, 'combineGrab');
        combineGrabPass.addRenderTarget(outputRadianceName, LoadOp.DISCARD, StoreOp.STORE, this._clearColorTransparentBlack);
        combineGrabPass.addTexture(inputRadiance, 'screenTex');
        combineGrabPass.addTexture('FrameMap',`grabTex`);
        combineGrabPass
            .addQueue(rendering.QueueHint.OPAQUE)
            .addCameraQuad(camera, material, 0); // addCameraQuad will set camera related UBOs
        return combineGrabPass;
    }
组合shader:
// Copyright (c) 2017-2023 Xiamen Yaji Software Co., Ltd.
CCEffect %{
techniques:
  - passes:
      - vert: combineGrab-vs
        frag: combineGrab-fs
        pass: combineGrab
        depthStencilState:
          depthTest: false
          depthWrite: false
}%


CCProgram combineGrab-vs %{
#include <./chunks/vs1>
}%

CCProgram combineGrab-fs %{
precision highp float;

layout(location = 0)out vec4 fragColor;
#pragma rate screenTex pass
uniform sampler2D screenTex;

#pragma rate grabTex pass
uniform sampler2D grabTex;

in vec2 v_uv;
void main() {
    // 采样玻璃本身的颜色和透明度(来自 Framebuffer 1 的渲染结果)
    vec4 glassColor = texture(screenTex, v_uv);

    // 默认直接采样屏幕纹理对应 UV,无折射
    vec2 screenUV = v_uv;

    // ----- 可选:折射扰动(若玻璃材质提供了法线贴图,可在此偏移 UV)-----
    // vec3 normal = texture(normalMap, v_uv).rgb * 2.0 - 1.0;
    // float refractionStrength = 0.02;
    // screenUV = v_uv + normal.xy * refractionStrength;
    // --------------------------------------------------------------------

    // 采样屏幕背景颜色
    vec4 backgroundColor = texture(grabTex, v_uv);

    // 根据玻璃的 alpha 进行线性混合(标准透明度混合)
    // 若希望玻璃颜色更亮,可使用 additive 等混合模式,此处以最常见的透明度混合为例
    vec3 blended = mix(backgroundColor.rgb, glassColor.rgb, glassColor.a);

    // 输出最终颜色,alpha 保持为 1.0(因为屏幕输出不需要半透明,或根据需求调整)
    fragColor = vec4(blended, 1.0);
}
}%
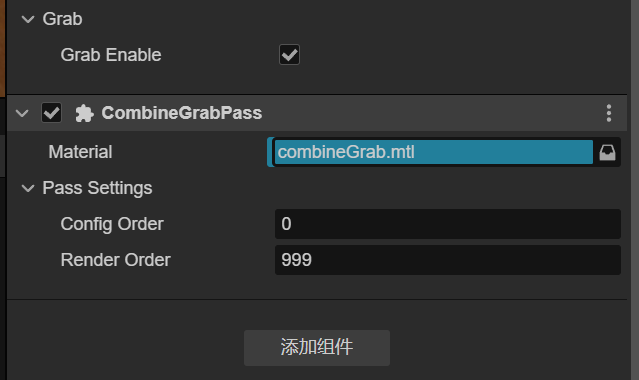
使用:
在主相机添加rending.CombineGrabPass添加好对应材质
builtin-pipeline-types.ts builtin-pipeline-settings 要改的代码就不贴出来了
实际效果: