有关背包等滑动列表drawcall高的问题,大佬们已经提供了很好的解决方案了,美中不足是这种修改渲染遍历顺序的方式,只适用于web端,不适用于native端。
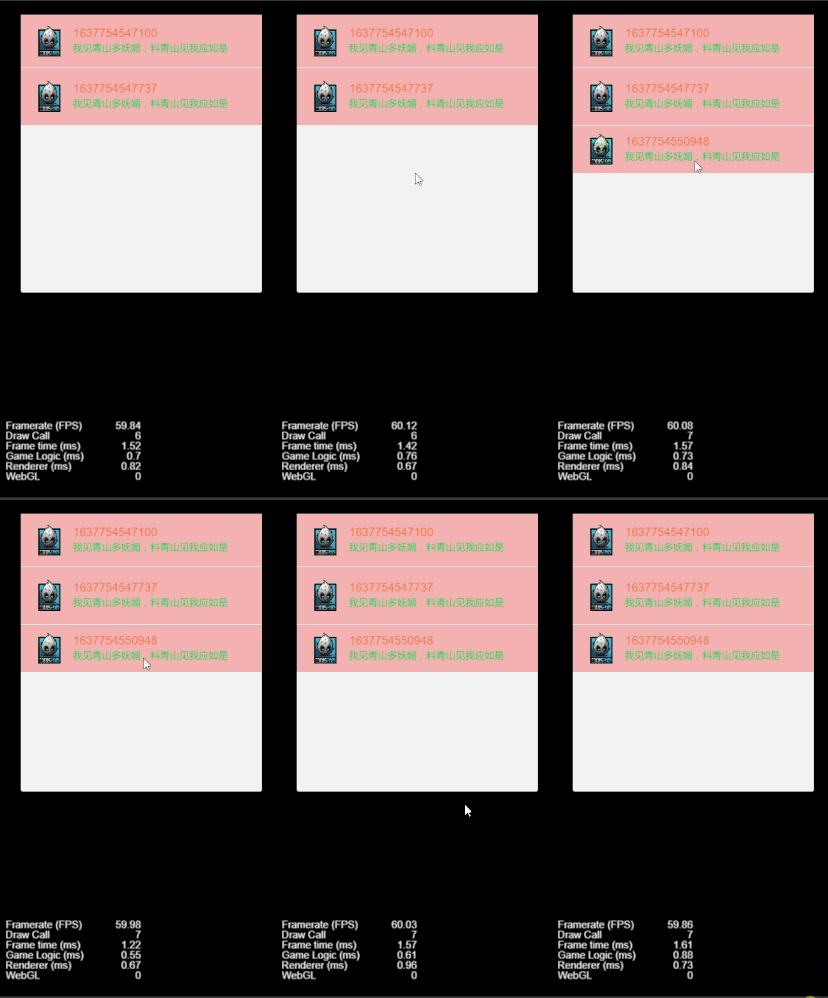
我这里也提供一个简单的方法,通过camera拍照添加到列表项节点,然后隐藏原节点其他所有子节点,从而使一个列表项的drawcall降为1,配合TableView使用,能将一个滑动列表的drawcall降为比较可观的数量。
这种做法只适用于列表项全部是静态的情况。
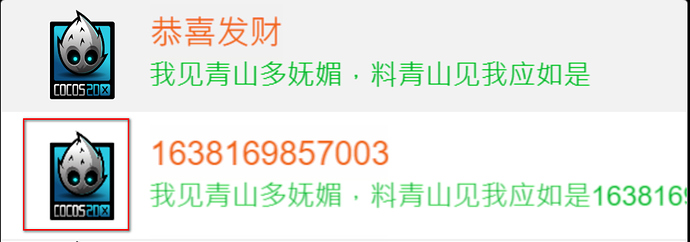
按下去的时候,item的drawcall恢复为4,松开后变为1。
做法的关键是截图:
shootItem(itemNode:cc.Node):cc.Texture2D{
    let box = itemNode.getBoundingBox();
    let pt = cc.v2(box.x+box.width*0.5,box.y+box.height*0.5);
    pt = this.camera.node.parent.convertToNodeSpaceAR(itemNode.parent.convertToWorldSpaceAR(pt))

    let cameraOrthoSize = box.height*0.5;
    this.camera.alignWithScreen = false;
    this.camera.node.position = cc.v3(pt.x,pt.y,100);
    this.camera.orthoSize = cameraOrthoSize;

    this.renderTexture.initWithSize(box.width,box.height)
    this.camera.targetTexture = this.renderTexture;

    this.camera.enabled = true;
    this.camera.render();
    this.camera.enabled = false;

    let data = this.renderTexture.readPixels();
    data = filpYImage(data,box.width, box.height)
    let tex = new cc.Texture2D()
    tex.initWithData(data,cc.Texture2D.PixelFormat.RGBA8888, box.width, box.height)
    return tex
}
相机节点添加到content同级目录下,放在外面的话会因为剪裁拍不到。修改相机的正交投影视窗大小,使刚好覆盖目标节点,然后设置相机的位置为目标节点同一位置,这样拍出的照片就刚好是目标节点了。
下面是完整代码,使用的时候只需要在列表项添加ListCaptureItem组件即可,列表项更新的时候调用lock方法重新拍照。
const {ccclass, property,disallowMultiple,menu,requireComponent} = cc._decorator;

@ccclass
@disallowMultiple
@menu("list_capture_item")
/**将列表项拍照保存,适用于节点项没有动画、没有重叠的情况 */
export default class ListCaptureItem extends cc.Component {
    private capture:cc.Sprite = null;
    onLoad(){
        let _node = this.node.getChildByName("capture");
        if(_node==null){
            _node = new cc.Node("capture");
            _node.parent = this.node;
            this.capture = _node.addComponent(cc.Sprite);
            this.capture.spriteFrame = new cc.SpriteFrame();

            let widget = _node.addComponent(cc.Widget)
            widget.isAlignLeft = true;
            widget.isAlignRight = true;
            widget.isAlignTop = true;
            widget.isAlignBottom = true;
            widget.alignMode = cc.Widget.AlignMode.ONCE;
            widget.left = 0;
            widget.right = 0;
            widget.top = 0;
            widget.bottom = 0;
        }else{
            this.capture = _node.getComponent(cc.Sprite);
        }
        this.lock()
    }

    private shooter:ListItemCamera = null;
    private initShooter(){
        if(this.shooter){
            return this.shooter;
        }
        let scroll:cc.ScrollView = null;
        let parent = this.node.parent;
        while(parent){
            scroll = parent.getComponent(cc.ScrollView);
            if(scroll){
                break;
            }
            parent = parent.parent;
        }
        if(scroll&&scroll.content==this.node.parent){
            let children = scroll.content.parent.children;
            for(let c of children){
                this.shooter = c.getComponent(ListItemCamera);
                if(this.shooter){
                    break
                }
            }
            if(this.shooter==null){
                let _node = new cc.Node();
                _node.parent = scroll.content.parent;
                _node.addComponent(ListItemCamera)
                this.shooter = _node.getComponent(ListItemCamera);
            }
        }else{
            cc.warn("list_capture_item只应该在Scrollview的列表项上")
        }
    }

    onEnable(){
        this.node.on(cc.Node.EventType.TOUCH_START,this.onMouseEnter,this)
        this.node.on(cc.Node.EventType.TOUCH_CANCEL,this.onMouseLeave,this)
        this.node.on(cc.Node.EventType.TOUCH_END,this.onMouseLeave,this)
    }

    onDisable(){
        this.node.off(cc.Node.EventType.TOUCH_START,this.onMouseEnter,this)
        this.node.off(cc.Node.EventType.TOUCH_CANCEL,this.onMouseLeave,this)
        this.node.on(cc.Node.EventType.TOUCH_END,this.onMouseLeave,this)
    }

    private onMouseEnter(){
        this.unlock();
    }

    private onMouseLeave(){
        this.lock(true);
    }

    /**拍照,每次UI变化之后要调用 */
    public lock(withOutCapture=false){
        this.initShooter();
        if(this.shooter==null){
            return;
        }
        this.scheduleOnce(()=>{
            let childs = this.node.children;
            if(!withOutCapture){
                childs.forEach( (child)=>{
                    child.active = this.capture.node!=child;
                })

                let tex = this.shooter.shootItem(this.node);
                this.capture.spriteFrame.setTexture(tex)
                let widget = this.capture.getComponent(cc.Widget)
                widget.updateAlignment();
            }
            childs.forEach( (child)=>{
                child.active = this.capture.node==child;
            })
        })
    }

    public unlock(){
        if(this.shooter==null){
            return;
        }
        let childs = this.node.children;
        childs.forEach((child)=>{
            child.active = this.capture.node!=child;
        })
    }
}


@disallowMultiple
/**生成一个照相机,挂载在scrollview.content同级节点 */
class ListItemCamera extends cc.Component {
    private camera:cc.Camera = null;
    private scroll:cc.ScrollView = null;
    private get renderTexture(){
        if(!this.camera.targetTexture){
            let renderTexture = new cc.RenderTexture();
            this.camera.targetTexture = renderTexture;
        }

        return this.camera.targetTexture;
    };
    onLoad(){
        this.camera = this.getComponent(cc.Camera);
        if(this.camera==null){
            this.camera = this.addComponent(cc.Camera);
        }
        this.scroll = this.node.parent.parent.getComponent(cc.ScrollView);
        if(this.scroll==null){
            cc.error("list_item_camera 必须挂在scrollview.content同级")
            return;
        }

        this.camera.alignWithScreen = false;
        this.camera.enabled = false;
    }

    shootItem(itemNode:cc.Node):cc.Texture2D{
        let box = itemNode.getBoundingBox();
        let pt = cc.v2(box.x+box.width*0.5,box.y+box.height*0.5);
        pt = this.camera.node.parent.convertToNodeSpaceAR(itemNode.parent.convertToWorldSpaceAR(pt))

        let cameraOrthoSize = box.height*0.5;
        this.camera.node.position = cc.v3(pt.x,pt.y,100);
        this.camera.orthoSize = cameraOrthoSize;

        // if(this.renderTexture.loaded){
        //     if(Math.abs(this.renderTexture.width-box.width)>Number.EPSILON||Math.abs(this.renderTexture.height-box.height)>Number.EPSILON){
        //         //@ts-ignore
        //         this.renderTexture.updateSize(box.width,box.height)
        //         this.camera.targetTexture = this.renderTexture;
        //     }
        // }else{
            this.renderTexture.initWithSize(box.width,box.height)
            this.camera.targetTexture = this.renderTexture;
        // }

        this.camera.enabled = true;
        this.camera.render();
        this.camera.enabled = false;

        let data = this.renderTexture.readPixels();
        data = filpYImage(data,box.width, box.height)
        let tex = new cc.Texture2D()
        tex.initWithData(data,cc.Texture2D.PixelFormat.RGBA8888, box.width, box.height)
        return tex
    }
}

/**翻转图片 */
function filpYImage (data:Uint8Array, width:number, height:number) {
    // create the data array
    let picData = new Uint8Array(width * height * 4);
    let rowBytes = width * 4;
    for (let row = 0; row < height; row++) {
        let srow = height - 1 - row;
        let start = srow * width * 4;
        let reStart = row * width * 4;
        // save the piexls data
        for (let i = 0; i < rowBytes; i++) {
            picData[reStart + i] = data[start + i];
        }
    }
    return picData;
}
示例工程 (45.6 KB)


 。
。